Rolling paint without lap marks, streaks or ridges
· 6 min read · By GK Painting & Remodeling
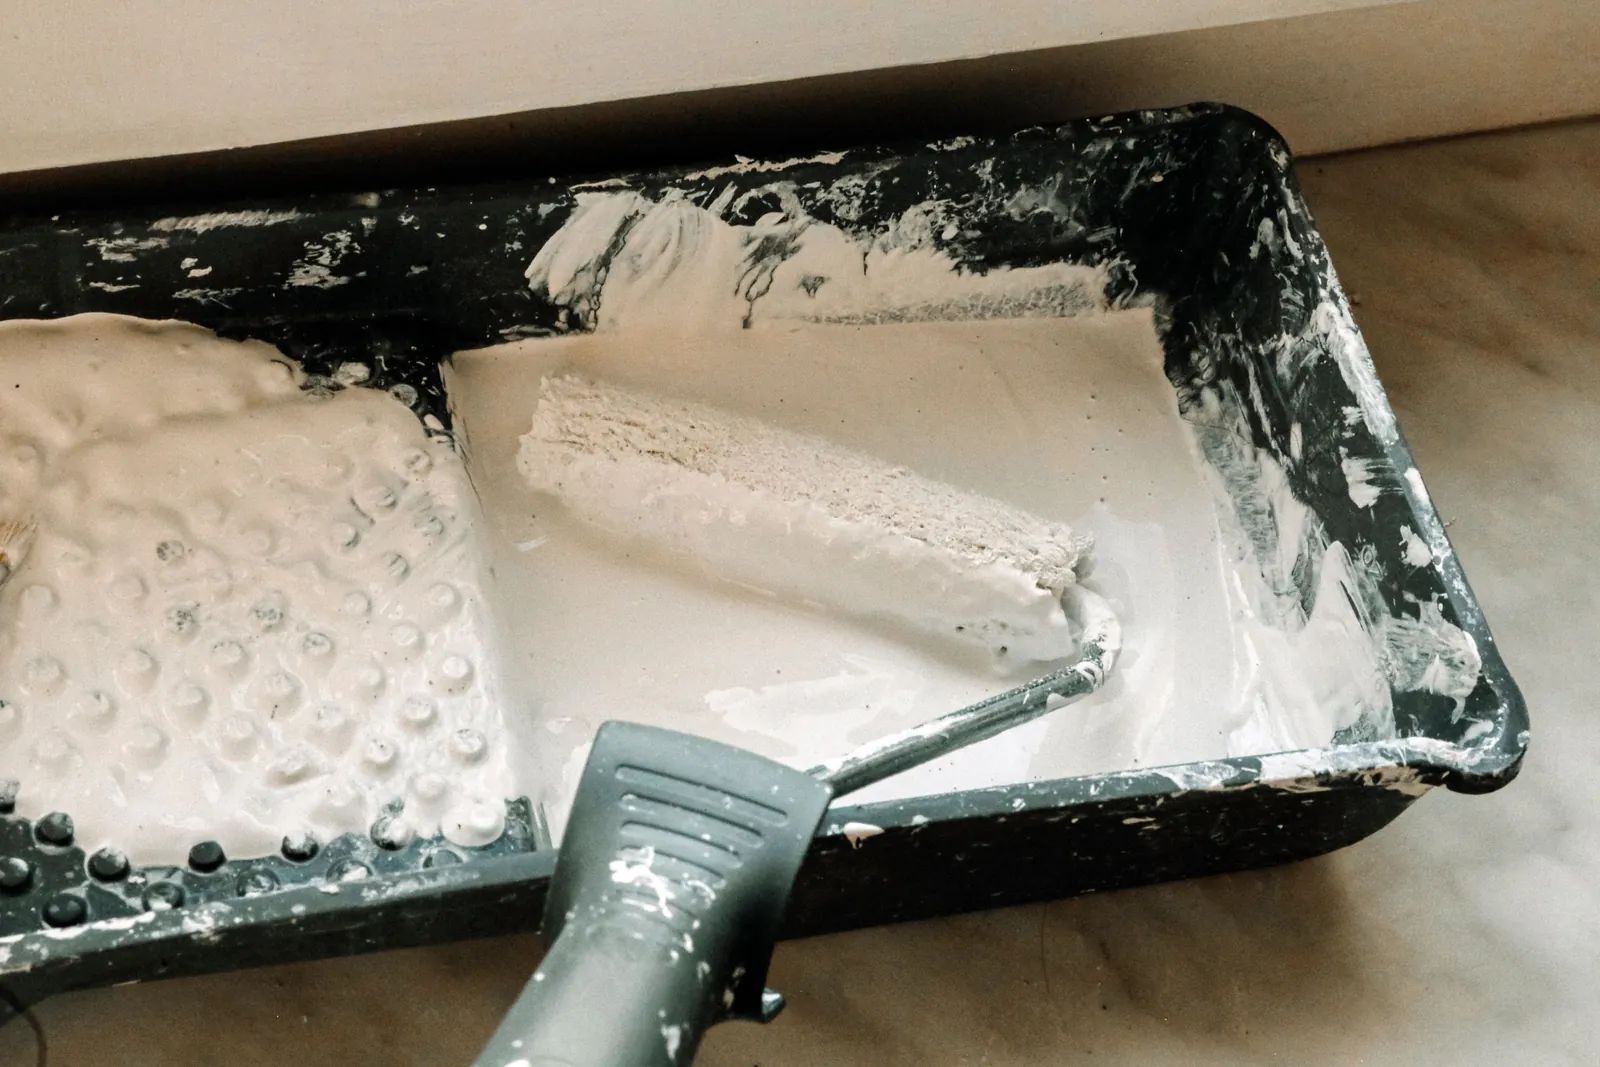
Roller marks come from rolling over paint that has started to dry, from a roller that's too wet or too dry, or from a poor cover. Keep a wet edge, use a good 3/8-inch cover on walls, load it evenly and finish each pass in one direction, and most of the marks never form.
Here's what the different marks are, what causes each and the rolling routine that prevents them. Cutting in is the other half of the job, and our guide to cutting in paint covers that.
What roller marks actually are
The term covers several different problems, and each has its own cause. Telling them apart is the quickest way to fix them:
| What you see | Usual cause | Prevent it by |
|---|---|---|
| A darker or glossier band where two passes overlap (lap mark) | Rolling into paint that's already setting | Keeping a wet edge and working in manageable sections |
| Thin ridges or lines where the roller stopped | Too much paint on the roller | Rolling off the excess and lifting the roller gently |
| A fuzzy or bumpy texture all over | Nap too long, or a poor cover | Using a 3/8-inch quality cover on smooth walls |
| Streaks in the direction of the roll | Roller too dry, or paint drying fast | Reloading before it runs out, and avoiding sun and drafts |
| A patch that looks different from the wall | A repaired or porous spot soaking up paint | Priming the patch first |
Benjamin Moore describes lap marks as deeper color or increased gloss where wet and dry paint overlap. That's the one that people usually mean, and it's all about timing.
Start with a cover that doesn't fight you
Nap is the length of the fibers on the roller. For most interior walls and ceilings, Benjamin Moore recommends a 3/8-inch nap, with a 1/4-inch nap for very smooth surfaces. A longer nap on smooth drywall leaves more stipple, which is the pebbly texture that catches light. Our guide to which nap roller to use on walls covers it in detail.
Quality matters just as much. Benjamin Moore's guide says to look for beveled edges, no visible seams and a plastic core, and notes that cheap covers shed fibers and break down after repeated washing. Shed fibers end up in the paint, and a cover with a seam can leave a line down the wall.
Before the first dip, wrap painter's tape around your hand, sticky side out, and roll it over a new cover to pull off loose lint. This Old House also suggests washing a new cover with water and mild soap to remove manufacturing residue, then letting it dry completely.
Load the roller evenly
An overloaded roller squeezes paint out at the edges and leaves ridges. A dry one drags, pulls the paint off the wall in places and leaves streaks. What you want is a cover that's saturated all the way around but doesn't drip when you lift it.
- Pour paint into the deep end of a tray, no more than a third full.
- Dip the roller and roll it down the ramp until the paint covers the whole cover evenly.
- Roll it back and forth on the ramp once or twice to even it out and squeeze the excess off.
- Reload when the stroke starts to get thin or hard to push. Don't wait until the wall pulls the cover dry.
An extension pole helps more than most people expect. It lets you stand upright, keep an even pressure and work the full height of the wall in a single motion.
Keep a wet edge
This is the heart of it. Benjamin Moore's core advice is to apply paint a short distance away from the section you just painted, then roll back into the wet area. Keep each section a manageable size, and work from wet toward dry, rather than starting from the dry side and rolling into the new paint.
Plan your breaks. Benjamin Moore suggests stopping at natural interruptions such as windows, doors or corners, and cutting in at those spots while the wall paint is still wet. Rolling a wall from top to bottom in vertical sections, without pausing in the middle, avoids the horizontal line that shows where you took a break.
The same page lists what dries paint too fast: direct sunlight and wind. Dunn-Edwards adds that higher temperatures can make paint dry on the surface first, and that poor air circulation prolongs drying. So close the blinds on a sunny wall, keep a fan from blowing across it, and don't paint a wall in the hottest part of the day.
A rolling pattern that works
- Cut in the section first, then roll before the brushed band dries.
- Lay on paint in a loose N or zig-zag, about three feet square, starting an inch or so into the wet edge of the last section.
- Without lifting, roll back across the zone to spread the paint evenly and fill the gaps.
- Finish with light, even passes from top to bottom, all in the same direction, lifting the roller slowly at the end of each pass.
- Move to the next section and overlap into the wet edge.
That fourth step is easy to skip, and it's one of the most useful. Dunn-Edwards explains that if paint is rolled up and down in different directions, tiny differences in the roller stipple can appear as different shades once the paint dries. Finishing in the same direction keeps those differences small.
Check the wall in side light
A wall can look perfect head-on and show every mark from the side. Dunn-Edwards describes a room's critical light as light striking a surface at an acute angle and casting shadows that highlight irregularities. For ceilings it recommends a dead flat paint, because angled sheens let critical light magnify imperfections.
Hold a bright work light against the wall at a low angle, or look along the wall toward a window, while the paint is still wet. Fixing a thin spot or a ridge now takes a few seconds with a lightly loaded roller. After the paint dries, it takes a recoat of the wall.
Patches and thirsty spots
Filled holes and bare drywall soak up paint differently from the painted wall around them, and the sheen and color over those spots can come out different, a problem painters call flashing. Dunn-Edwards says new drywall is very porous and soaks up paint if it isn't primed first, and Benjamin Moore suggests primer or sealer on very porous surfaces.
So spot-prime every patch before the main coat. Our guide to whether you need primer covers when it matters, and the one on patching drywall holes shows how to prepare the spot.
Fixing roller marks that have already dried
Let the paint dry fully. Then look at what you've got. A raised ridge can be sanded smooth with fine paper, and wiped clean of dust. A band or streak from overlap usually won't sand out, because it's a difference in thickness or sheen, not a bump.
For those, the cure is another coat, rolled the whole wall from corner to corner with a wet edge. Patching a lap mark with more paint usually makes a second mark. If you want to know how many coats a wall needs, see our guide to how many coats of paint.
We paint walls, ceilings, trim and doors for homes and businesses as part of our interior painting, and most rooms take one to two days. If you'd rather not spend a Saturday chasing lap marks, ask for a free estimate.
Common questions
Why do I get roller marks even when I use good paint?
Usually it's technique, not paint. Rolling into paint that has already started to set, using a roller that is overloaded or dry, or letting sun and drafts dry the wall too fast will mark any paint.
How do I keep a wet edge when painting a wall?
Paint in sections of a size you can finish before the first part starts to dry, working from the wet edge toward the dry wall. Stop only at corners, windows or doors, and cut in at those breaks while the wall paint is still wet.
Does the nap of the roller cause roller marks?
It can. A longer nap on a smooth wall leaves more stipple texture, so a 3/8-inch cover is a good default for most interior walls, and a 1/4-inch cover suits very smooth surfaces.
Should I roll up and down or side to side?
Lay the paint on any way that works, then finish with light passes all in the same direction, usually top to bottom. Dunn-Edwards says this minimizes visible shade differences that come from up-and-down roller patterns.
Can I fix roller marks without repainting the whole wall?
If it's a raised ridge, yes: sand it smooth and touch up lightly. For lap marks or streaks, the dependable fix is another coat over the whole wall from corner to corner.
Sources
- Prevent Paint Lapping (lap marks), Benjamin Moore
- How to Choose the Best Paint Roller Cover for Your Project, Benjamin Moore
- Gloss, Lighting & Texture Effects on Color Perception (technical bulletin), Dunn-Edwards
- How to Paint a Ceiling (technical bulletin), Dunn-Edwards
- Dry Time versus Cure Time of Paint (technical bulletin), Dunn-Edwards
More on interior painting and every tips and tricks post.