Cutting in paint: a steady line at the ceiling, trim and corners
· 5 min read · By GK Painting & Remodeling
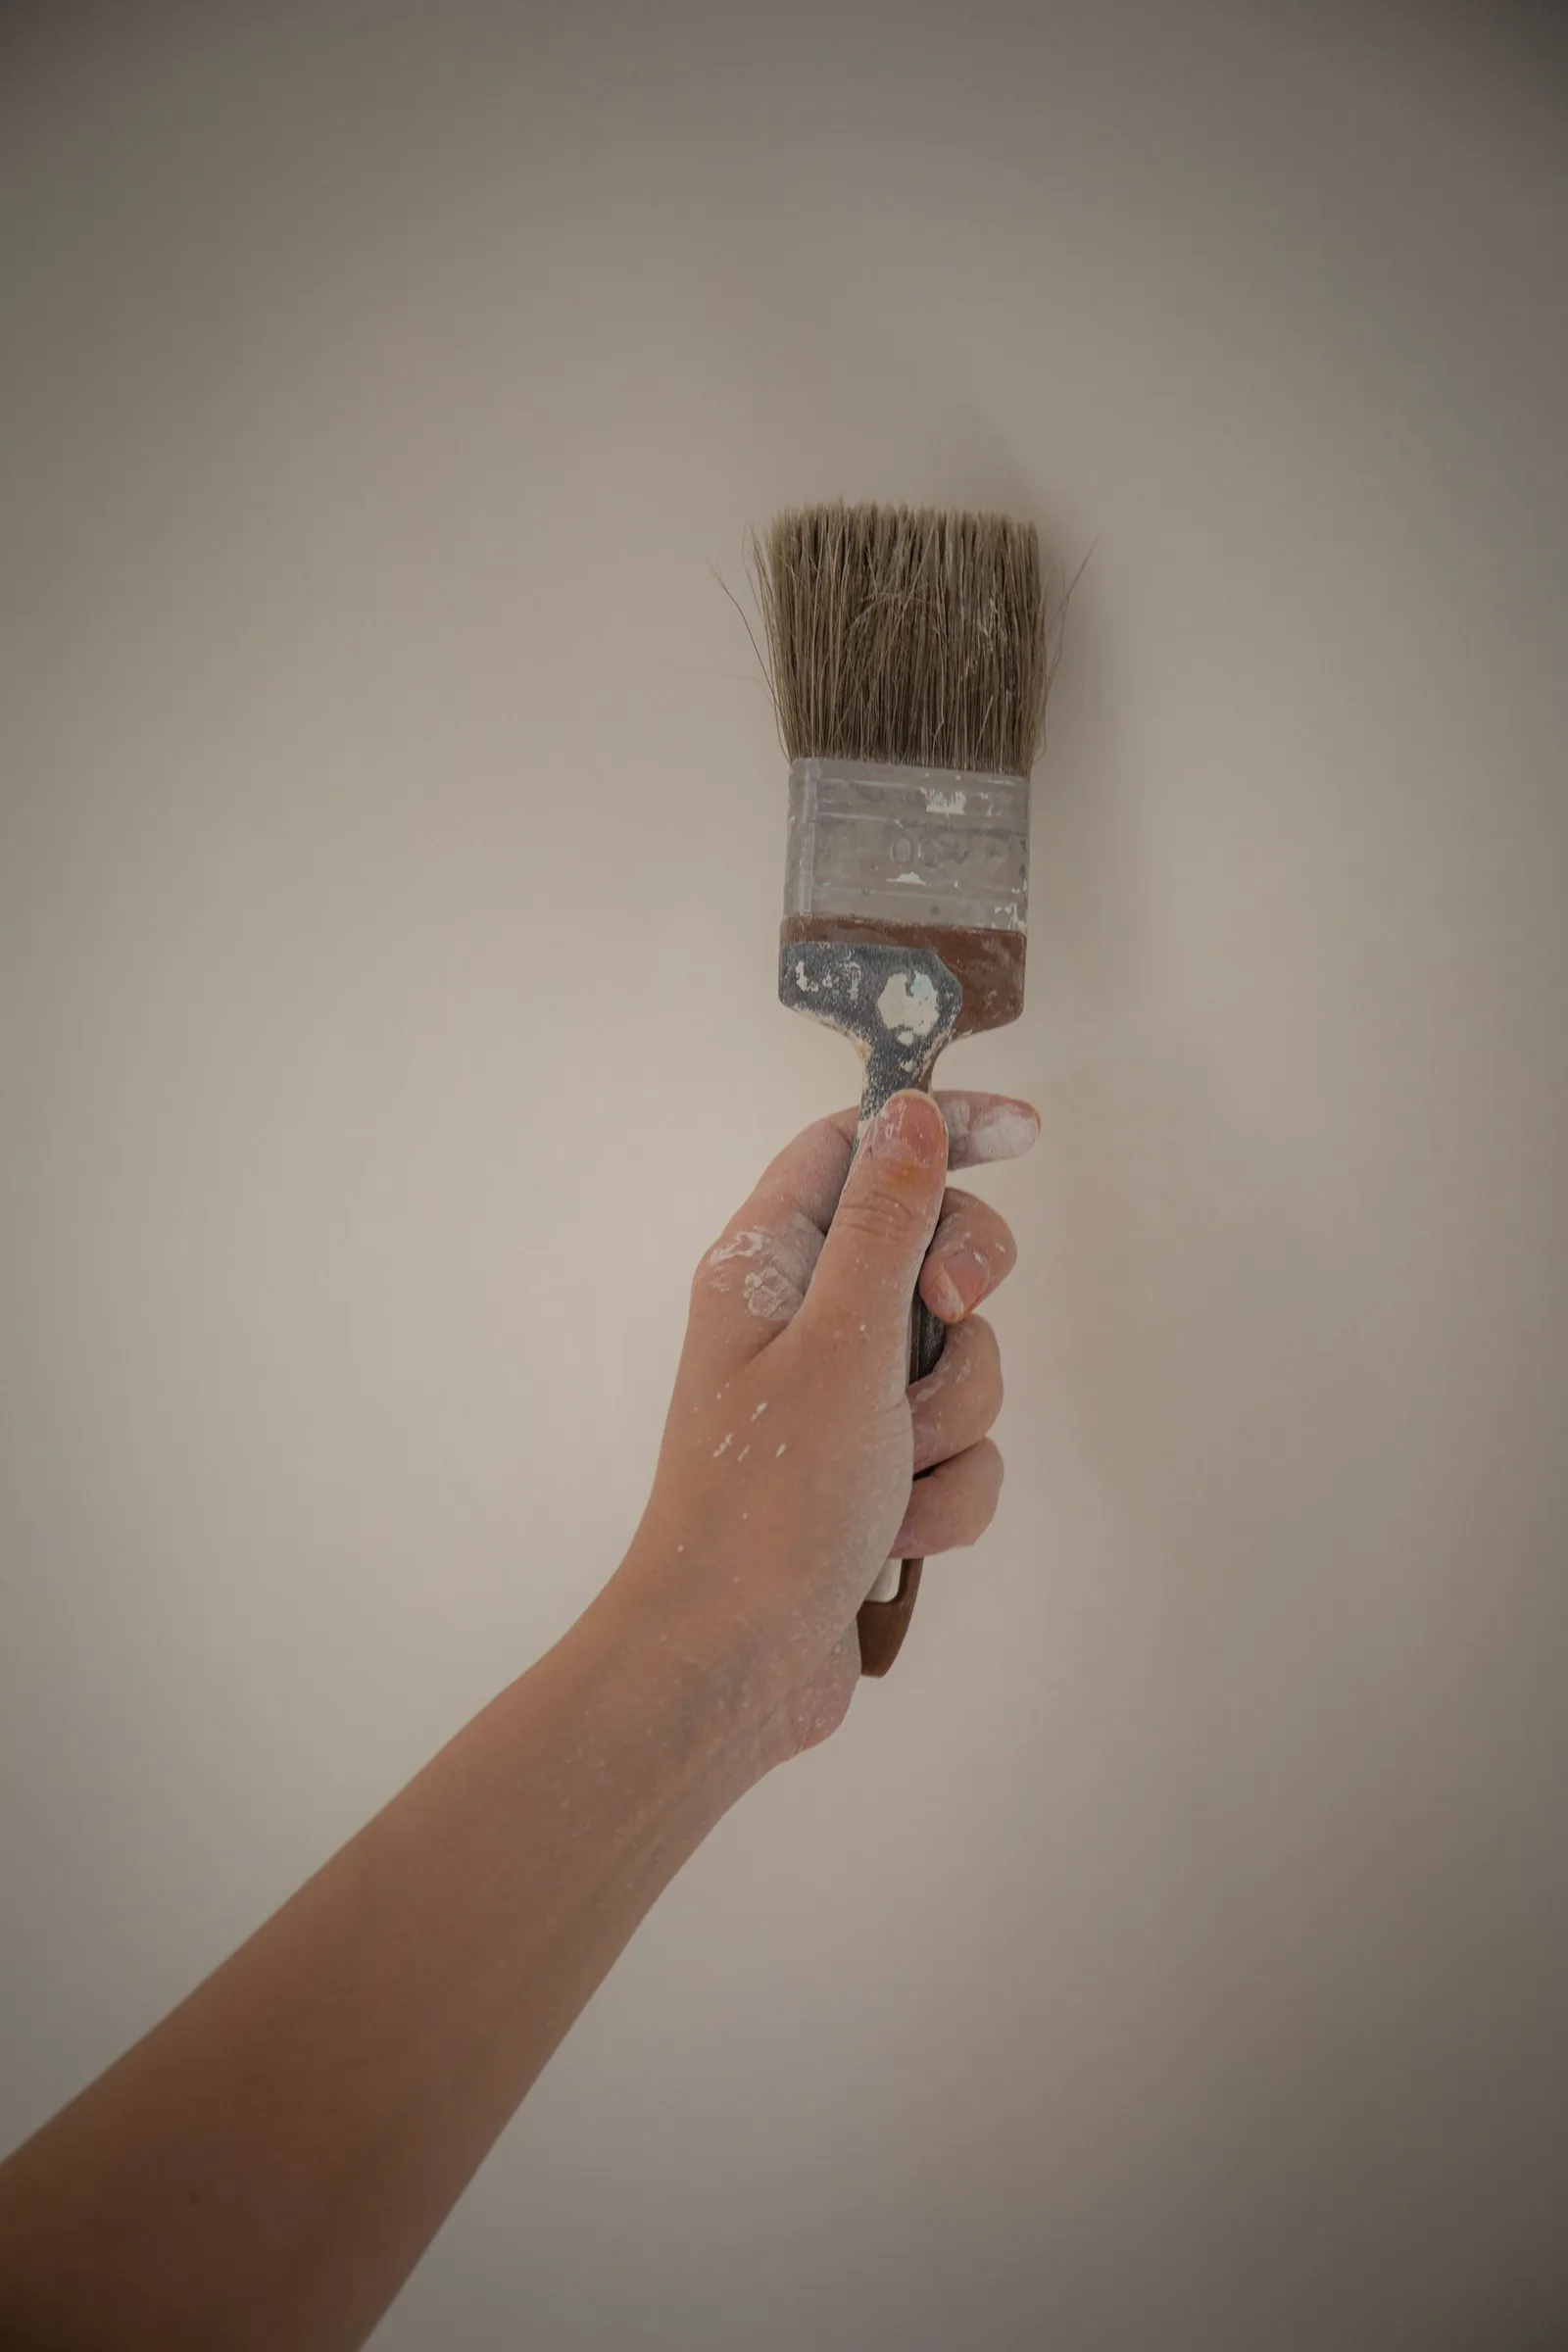
Cutting in means brushing a clean band of paint along the edges a roller can't reach: where the wall meets the ceiling, the trim, a window frame or a corner. A good angled brush loaded about a third of the way up the bristles, a braced hand and decent light will give you a steady line, with or without tape.
Here's the full routine, the mistakes that make a line wobble, and when tape is the better call. If you're painting the whole room, our guide to how to paint a room puts cutting in where it belongs in the order of work.
What cutting in is, and why it comes first
A roller can't get into a corner or hold a straight line against trim, so those spots are brushed first, in a band two or three inches wide. The roller then fills in the rest of the wall and overlaps the band.
The timing matters as much as the line. Benjamin Moore's advice for avoiding lap marks is to keep a wet edge, and it specifically suggests cutting into your stopping points while the wall paint is still wet. There's a second reason. Brushed paint and rolled paint dry with a different surface texture, and Dunn-Edwards explains that texture changes how we see color. A brushed band that dries before the roller reaches it can show up later as a faint frame around the wall.
So the rhythm is cut in one wall, then roll that wall before the brushed band dries, then move to the next. Don't cut in the whole room and come back to roll an hour later.
Choose a brush that can hold a line
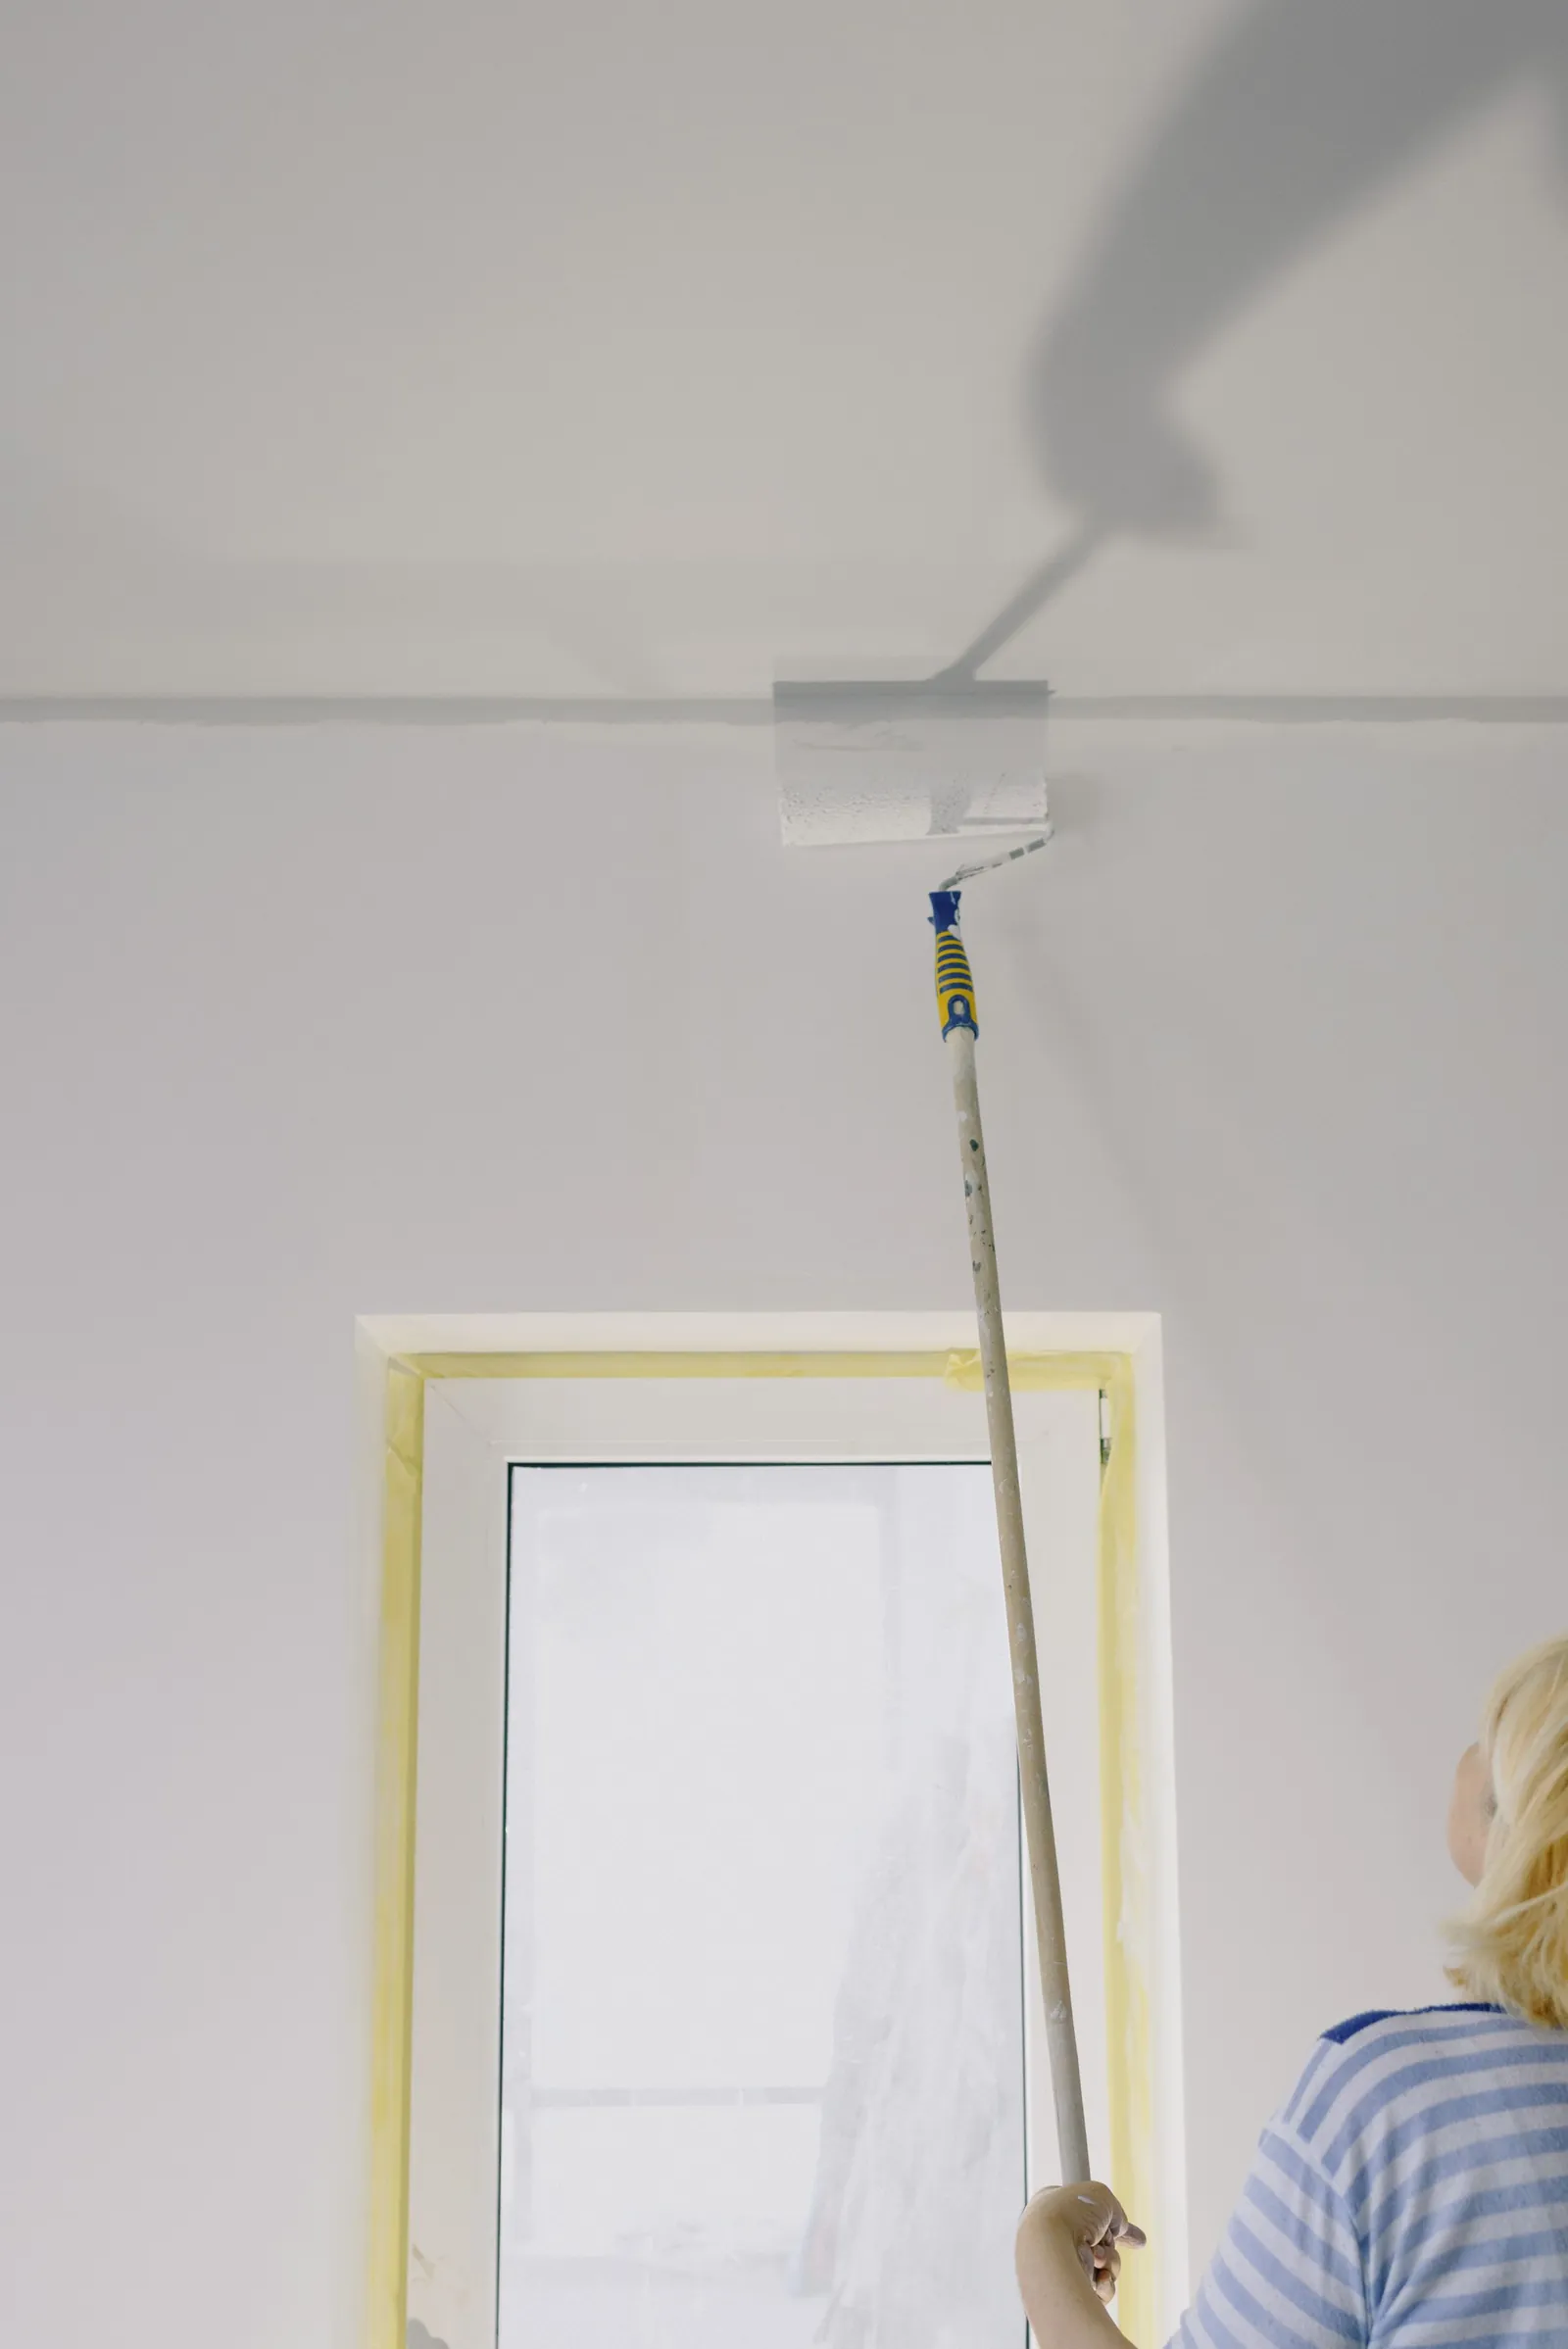
For latex and acrylic paint, which is what most interior walls get, use a synthetic-bristle brush. This Old House notes that synthetic bristles suit acrylic paint best, while natural bristle has traditionally been the choice for oil-based paint.
Shape matters more than anything printed on the handle. An angled sash brush has bristles cut on a slant, so the long edge of the tip can ride the line while the short side stays clear of the ceiling. This Old House suggests looking for a tapered tip that forms a narrow line when you press it to the work, firm bristles and a full body that holds paint. Two inches is a good all-round width for walls. Drop to an inch and a half for narrow trim and window sashes.
Load the brush so it doesn't flood the edge
Dip only the first third of the bristles into the paint. Tap each side of the brush against the inside of the can, rather than wiping it across the rim, so the bristles hold paint without dripping.
Too much paint is the most common reason a cut-in line goes wrong. It floods the edge, runs onto the ceiling and leaves a ridge you can see from across the room. Too little makes the brush drag and leaves a streaky band that won't match the rolled paint. You're aiming for a brush that feels full but never drips when you lift it.
The stroke, step by step
- Start at the end of a wall or in a corner, with the loaded brush about a quarter inch back from the edge you're cutting.
- Press the bristles gently against the wall until they flex and bow toward the edge. You're feeding paint to the line, not drawing it with the tip.
- Pull the brush along the edge in one steady pass, letting the angled tip sit right on the line. Move your whole forearm, not just your wrist.
- Reload before the paint runs thin, and start the next stroke an inch or two back inside the wet paint so the strokes join.
- Keep the band two or three inches wide, and lightly feather its outer edge so the roller can blend into it.
- Roll the wall before the band dries.
Most people try to paint right on the line with the very tip of the brush. It looks logical and it produces wobble. Letting the bristles fan out and lay paint onto the line gives you a sharper edge with less effort.
Steady hands and good light
Most wobble comes from an unsupported hand. Rest the heel of your free hand, or a finger of the brush hand, against the wall or trim. Stand close enough that your elbow isn't reaching, and slide your feet along the wall instead of stretching. A short step stool beats tiptoes every time.
Light is the other half. Dunn-Edwards describes a room's critical light source as the point where light hits a painted surface at an acute angle, casting shadows that highlight surface irregularities. That's exactly what shows a wavering cut-in line. Check your work with a bright work light held to the side of the wall, and fix problems while the paint is still wet.
Common problems and quick fixes
| Problem | Likely cause | Fix |
|---|---|---|
| Wavy line | Unsupported hand, or too much paint | Brace your hand, load less, and straighten the line while it's wet |
| Paint on the ceiling or trim | Brush pushed past the edge | Wipe it at once with a damp cloth over a fingertip |
| Thin, streaky band | Brush too dry | Reload and re-brush the band before it sets |
| Raised ridge at the edge | Brush overloaded | Brush it flat while wet, or sand it smooth once dry and touch up |
| Faint frame around the wall | Band dried before the roller reached it | Cut in smaller sections and roll right behind; recoat the wall if it persists |
When tape is the better choice
Cutting in freehand is a skill that comes with practice, and nobody's first wall is perfect. Tape earns its place on a first-time job, along a hard color change, and against glossy new trim or glass where a slip is hard to fix. It's a poor idea over fresh paint, and a rushed tape job bleeds. Our guide to using painter's tape covers when it helps, when it hurts and when to pull it off.
Cutting in around trim, ceilings and built-ins
Different edges ask for slightly different moves. At the ceiling, paint the ceiling first, then cut the wall in beneath it. Along a baseboard, slide a wide plastic shield or a drop cloth edge under the board first so the brush can press without worrying about the floor. Around window and door casings, cut in on the wall side only; the casing is its own job, and our notes on painting baseboards and painting trim cover it.
Built-ins are the hardest edges in a house because there are so many of them. The project page for built-ins refinished in two greens shows the room masked before any paint came out, which is the same idea at a bigger scale.
Where cutting in sits in a whole room
The usual order runs top to bottom: ceiling, then the wall edges and wall faces, then trim. Floors and furniture get covered before any of it, and small holes get repaired first. That's how we start every room, and it's what makes a day of cutting in worth the effort.
If you'd rather leave the ladder work to someone else, we paint walls, ceilings, trim and doors as part of our interior painting, and most rooms take one to two days. Ask for a free estimate and George will talk through the room with you.
Common questions
Do I cut in before or after I roll?
Cut in first, then roll, one wall at a time. That way the brushed band and the rolled paint are both still wet where they meet, which is what keeps the edge from showing later.
Can I cut in with a roller or a paint edger instead of a brush?
A small roller or edging pad can handle some long, straight runs, but corners and tight spots are still brush work. A brush is the most forgiving tool for a first-timer because you can see and control the line.
How wide should the cut-in band be?
Two to three inches is plenty. A wide band is harder to keep wet while you work, and a narrow one leaves the roller too close to the trim.
What's the best brush for cutting in?
An angled sash brush with synthetic bristles, about two inches wide, suits most walls painted with latex or acrylic. Look for firm bristles, a tapered tip and a full body.
How do I fix a cut-in line that came out wavy?
If the paint is still wet, brush it straight and wipe any overshoot off the ceiling. If it has dried, let it cure, then correct the line with a small brush and a little paint, working slowly with your hand braced.
Sources
- Prevent Paint Lapping (lap marks), Benjamin Moore
- How to Choose the Best Paintbrush, This Old House
- How to Paint a Ceiling (technical bulletin), Dunn-Edwards
- Gloss, Lighting & Texture Effects on Color Perception (technical bulletin), Dunn-Edwards
More on interior painting and every tips and tricks post.