Patching drywall holes, from nail holes to a doorknob dent
· 6 min read · By GK Painting & Remodeling
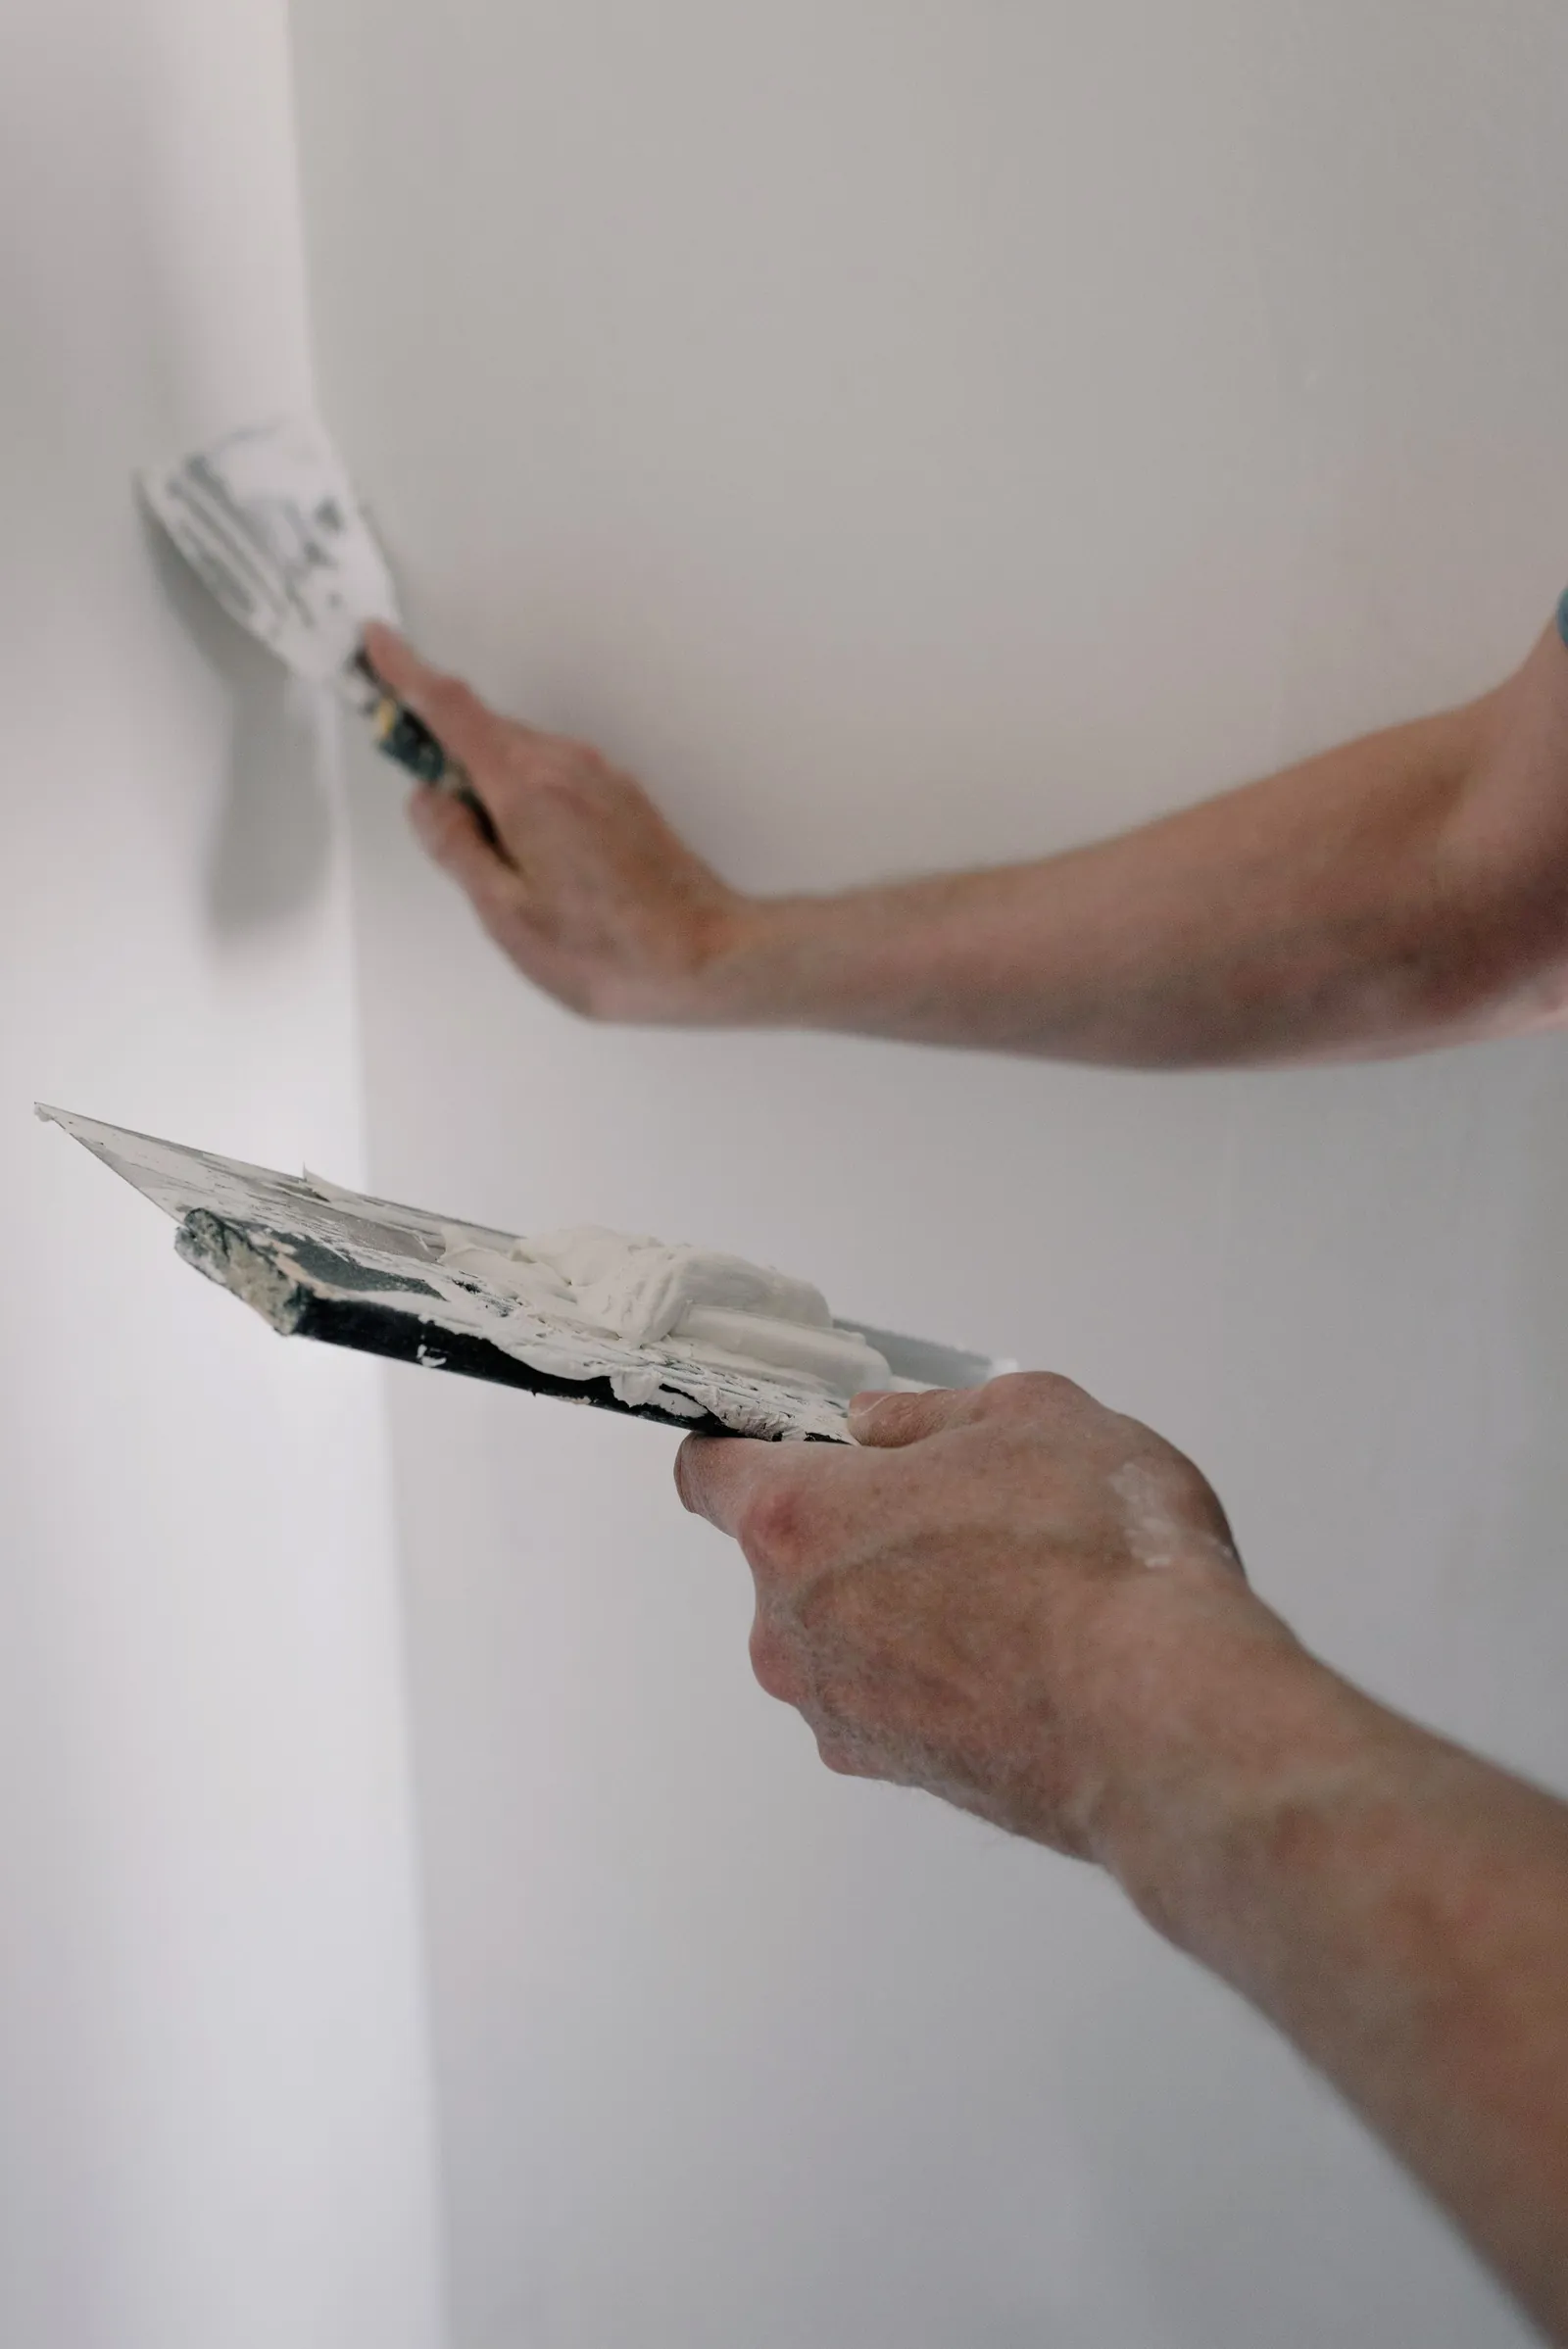
To patch a small hole in drywall, fill it with joint compound or spackle, let it dry, add a second thin coat, sand it smooth and prime before you paint. Holes bigger than an inch need tape, and past a couple of inches they need a real patch, which is where the repair stops being a quick job.
This guide covers the small repairs well, since they make up most of what a room needs before painting, and it's honest about the bigger ones. It also explains the waits that matter, because rushing the drying is the main reason patches show through paint.
What you'll need
- Joint compound (ready-mixed is easiest) or lightweight spackle for tiny nail holes.
- Putty knives: a small one for filling and a wider one, around 6 to 10 inches, for feathering the edges.
- Paper or mesh drywall tape for holes over about an inch.
- A utility knife, to trim torn paper and loose edges.
- Fine sanding sponges or paper, and a damp sponge.
- A screwdriver or hammer, and a few drywall screws or nails, for popped fasteners.
- Primer, plus a drop cloth and a dust mask.
- A work light to check your work at a low angle.
Match the repair to the hole
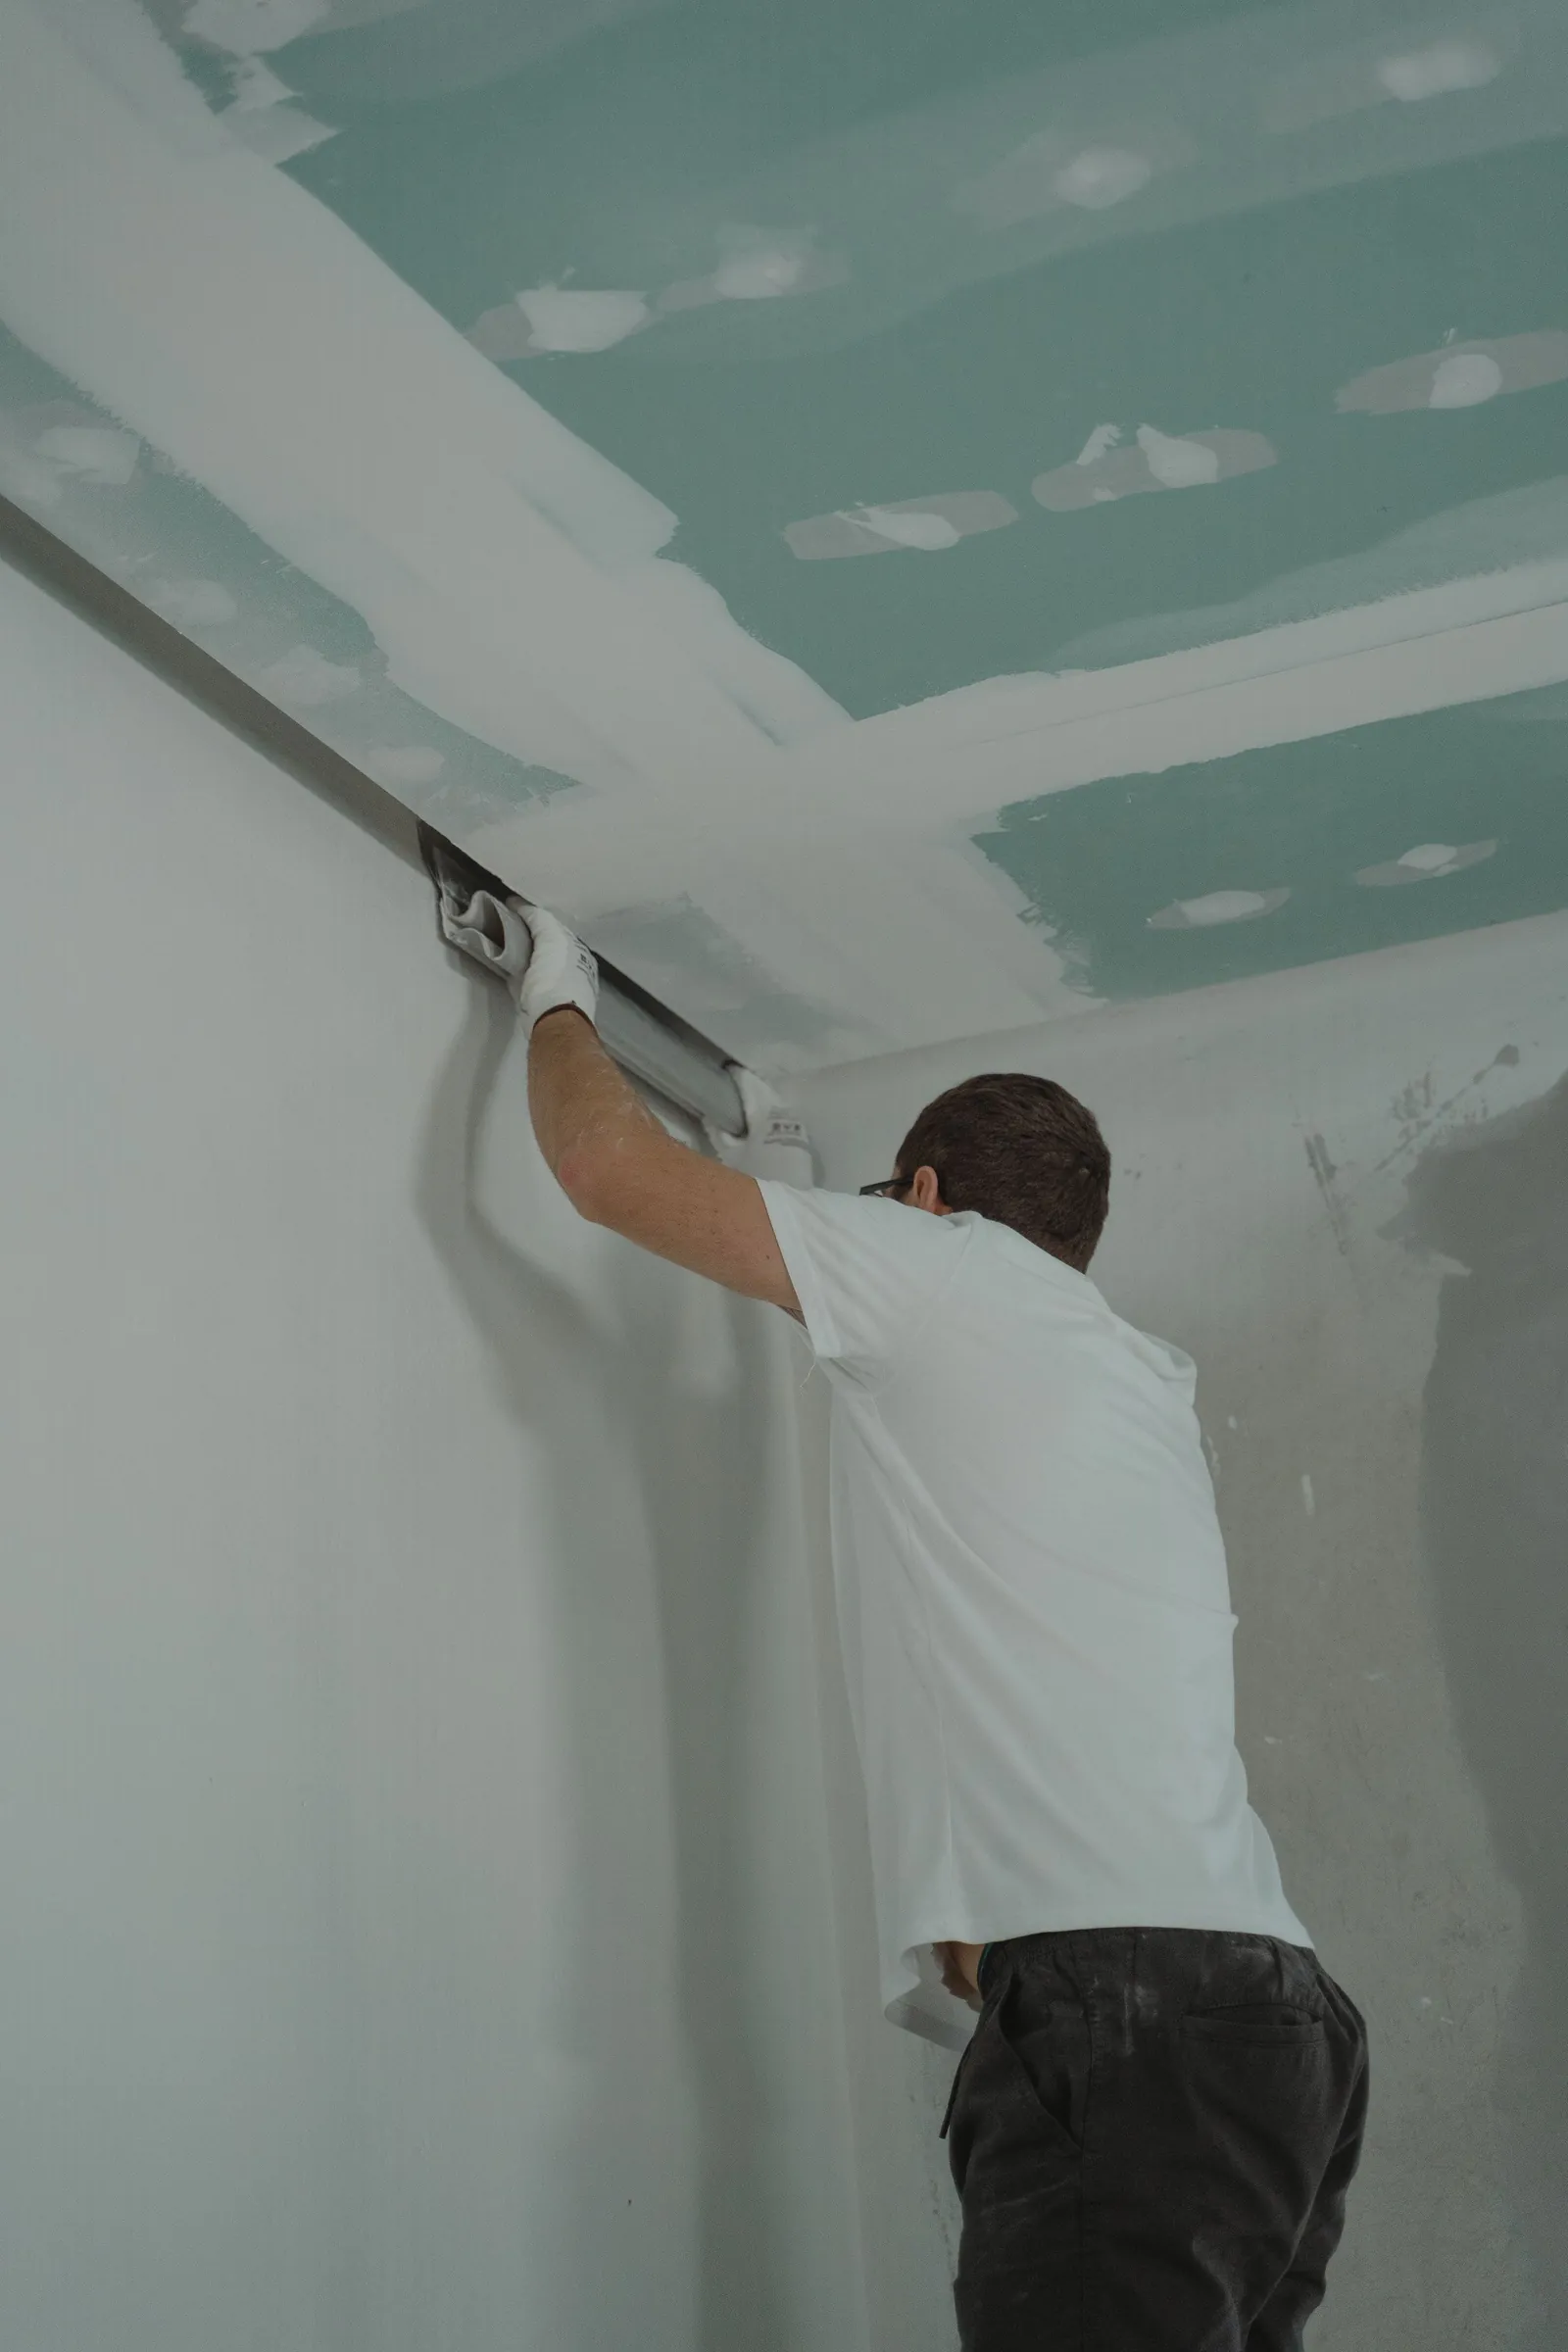
The National Gypsum repair guide sorts drywall damage by size, and the sorting is useful. It's roughly this:
| Damage | Fix | Between coats |
|---|---|---|
| Nail hole or small dent | Fill, sand, prime | About 24 hours |
| Popped nail | Reset the fastener, then fill | About 24 hours |
| Hole under 1 inch | Fill with tape in the compound | About 24 hours |
| Hole 1 to 2 1/2 inches | Two pieces of tape, crisscrossed | About 24 hours |
| Torn face paper | Seal with primer, then compound | About 24 hours |
| Larger holes | Backing and a drywall patch | Longer, in layers |
Past about two and a half inches, you're cutting out damaged drywall, fastening a backer and fitting a new piece. That's a DIY project with a real learning curve, or a job for a drywall pro, and it's not something we do.
Fixing a small hole, step by step
- Clear the area and lay a drop cloth under it. Shave off any raised rim around the hole with the putty knife so the wall is flat.
- Press compound into the hole with the small knife and scrape it level with the wall. For a hole under an inch, lay a piece of tape across it first and press the tape into the compound.
- Skim a thin coat over the repair and let it dry. National Gypsum's guide says to let compound dry for 24 hours.
- Add a second thin coat, a little wider than the first, to blend the repair into the wall. A third coat is common on bigger repairs.
- Sand lightly when everything is fully dry. A fine sanding sponge or a damp sponge both work, and a damp sponge keeps dust down.
- Wipe off the dust with a damp cloth.
- Hold your work light close to the wall and look along the surface. Fill and sand again if you see a ridge, a hollow or a halo around the patch.
- Prime the patch before painting. This step is not optional, as the next section explains.
Popped nails and dents
A nail pop is a small bump where a fastener has worked loose from the stud. Pressing it back and covering it won't last, because it will push out again. National Gypsum's repair guide has you drive a new nail into the stud about an inch and a half above the popped one, set both heads slightly below the surface without tearing the paper, and then cover with compound.
Dents and dings are simpler: fill them level, let the compound dry and sand it flush. If paper is torn around a dent, trim the loose edges and coat the exposed paper with primer first, because fresh compound over bare paper bubbles.
A doorknob dent is usually a dent, not a hole. If the face paper is intact and the drywall underneath is only crushed, fill it in a few thin layers, a little wider each time, and let each one dry. If the knob punched all the way through, treat it as a hole and use the sizes in the table above.
Why the drying times matter
Thin coats dry faster, shrink less and crack less. DAP's joint compound data sheet says to allow about 24 hours between applications, and notes that dry time lengthens with thicker coats, lower temperatures and higher humidity. It also gives a minimum application temperature of 50°F, so don't patch in a cold room and expect it to dry on schedule.
Sanding before the compound is dry gums up the paper and tears the surface. If it feels cool or looks darker in spots, give it more time. DAP also recommends wet sanding with a damp sponge, which leaves a smooth surface and sends far less dust into the air.
Priming and painting over the patch
Compound is more porous than painted drywall. If you paint straight over it, the patch absorbs paint differently, and you see a dull square where the repair is, even though it's perfectly smooth. Priming evens that out. National Gypsum's guide says to prime before painting for the same reason.
Spot prime the patch. Touching up only the patch usually leaves a visible difference in sheen, so plan to paint the whole wall section afterward.
Let the primer dry according to the can, then paint the wall from corner to corner rather than dabbing at the patch. Use the same roller nap as the rest of the wall, because a different nap leaves a different texture, and keep a wet edge as you go. Two coats usually hide a repair that was properly sanded and primed.
If you only have a small touch-up to do, our post on touching up paint explains how to blend the spot instead of leaving a square. For the roller side of it, see how to avoid roller marks.
Matching a textured wall
Smooth walls are forgiving, and textured ones are not. Orange peel and knockdown textures are sprayed or troweled on in a pattern, and a flat patch in the middle of one looks like a bald spot. Spray texture from a can can work for a small repair, and thinned compound dabbed with a sponge or brush can match a rougher pattern. Practice on cardboard first.
If the texture covers a whole wall or ceiling and the repair is big, it's often easier to hire a pro who sprays texture for a living. We don't repair larger drywall or match texture, so ask a drywall contractor for that part. If the texture is on a ceiling in an older home, read our popcorn ceiling guide before you patch it.
Where DIY gets hard
- Halos and ridges. A patch that sits proud, or that stops too sharply, shows in side light even after paint. The fix is wider, thinner coats, not more compound at once.
- Textured walls. Matching orange peel or knockdown takes practice, and a smooth patch on a textured wall stands out.
- Water damage. A brown stain or soft drywall means moisture. Fix the leak first, and don't patch or paint over mold: EPA says to clean it up and dry the surface before painting.
- Old walls. Plaster isn't drywall, and it patches differently; see how to repair plaster walls.
- Older compound. EPA lists patching and joint compounds, popcorn ceilings and textured paints among materials that may contain asbestos, especially in buildings from before 1975. EPA says you generally can't tell by looking and advises not to saw, sand or scrape suspect material.
If your house is older and the repair means sanding old compound, stop and find out what's in it first. Our post on prepping walls for painting covers the wider prep, and our guide to painting older Madison homes covers plaster.
What we repair, and what we don't
When we paint a room, we cover floors and furniture first and repair small holes as part of the job. That means small holes such as nail holes and dings, which is the territory of this guide. Larger drywall repairs are for a drywall pro or a confident DIYer, and we'll say so on the estimate call.
Our interior painting is priced by the square footage of the space, paint included, and most rooms take one to two days. For the rest of the sequence, see how to paint a room. When you're ready, ask for a free estimate.
Common questions
Should I use spackle or joint compound?
Lightweight spackle is fine for tiny nail holes and dings because it dries fast. Joint compound is better for anything bigger, since it's cheaper, sands well and works with tape.
How long does drywall compound take to dry?
About 24 hours between coats is the standard from both National Gypsum and DAP. Thicker coats, cool rooms and humid air take longer, so wait until it's uniformly light in color before you sand.
Do I need to prime after patching drywall?
Yes. Compound absorbs paint differently from the wall around it, so unprimed patches show through the finish as dull spots. Prime the patch, then paint the whole wall section.
Why can I still see the patch after painting?
The usual causes are a ridge or halo from compound that wasn't feathered wide enough, or a missing primer coat on the patch. Look along the wall with a low light before you paint to catch both.
Can I patch a large hole in drywall myself?
Yes, with a backer, a cut-in drywall piece, tape and several coats of compound, but it takes more skill and time than small repairs. This is a job for a drywall pro or a patient DIYer.
Sources
- A Brief Guide to Mold, Moisture and Your Home, U.S. Environmental Protection Agency
- Drywall Finishing and Repair, National Gypsum
- Wallboard Joint Compound (technical data sheet), DAP
- Post-Disaster Renovations and Asbestos for Homeowners and Workers, U.S. Environmental Protection Agency
- Protect Your Family from Exposures to Asbestos, U.S. Environmental Protection Agency
More on interior painting and every how-to post.