Prepping walls for paint: clean, patch, sand, prime
· 6 min read · By GK Painting & Remodeling
To prep walls for painting, clear and cover the room, clean the walls, repair holes and cracks, sand the repairs smooth, wipe off the dust, and prime anything patched or stained. The paint is the easy part; most of what you see on the wall a year later was decided during prep.
Here's the order we use, with the tools, the drying waits that people skip, and the situations where DIY prep gets harder than it looks.
What you'll need
- Drop cloths, plastic sheeting and painter's tape.
- A putty knife or two (a small one for holes, a wide one for feathering).
- Joint compound or spackle, and a small tub for mixing.
- Sanding sponges or paper in medium and fine grit, and a pole sander for tall walls.
- A bucket, sponges, rags and a mild detergent or all-purpose cleaner.
- Paintable caulk and a caulk gun.
- Primer for patches and stains.
- A work light you can hold at a low angle.
- A dust mask, safety glasses and gloves.
Step by step
- Clear the room and cover what stays. Cover floors with drop cloths and furniture with plastic. Remove outlet covers, switch plates and anything hung on the wall.
- Find the flaws. Hold a bright light against the wall at a low angle. Dents, nail pops, hairline cracks and rough patches stand out in raking light that you'd never see head-on.
- Scrape what's loose. Remove peeling or flaking paint with a scraper, back to a firmly attached edge.
- Clean the walls. Dust first, then wash greasy, smoky or grimy areas and let them dry completely. Our guide to cleaning walls before painting goes into detail.
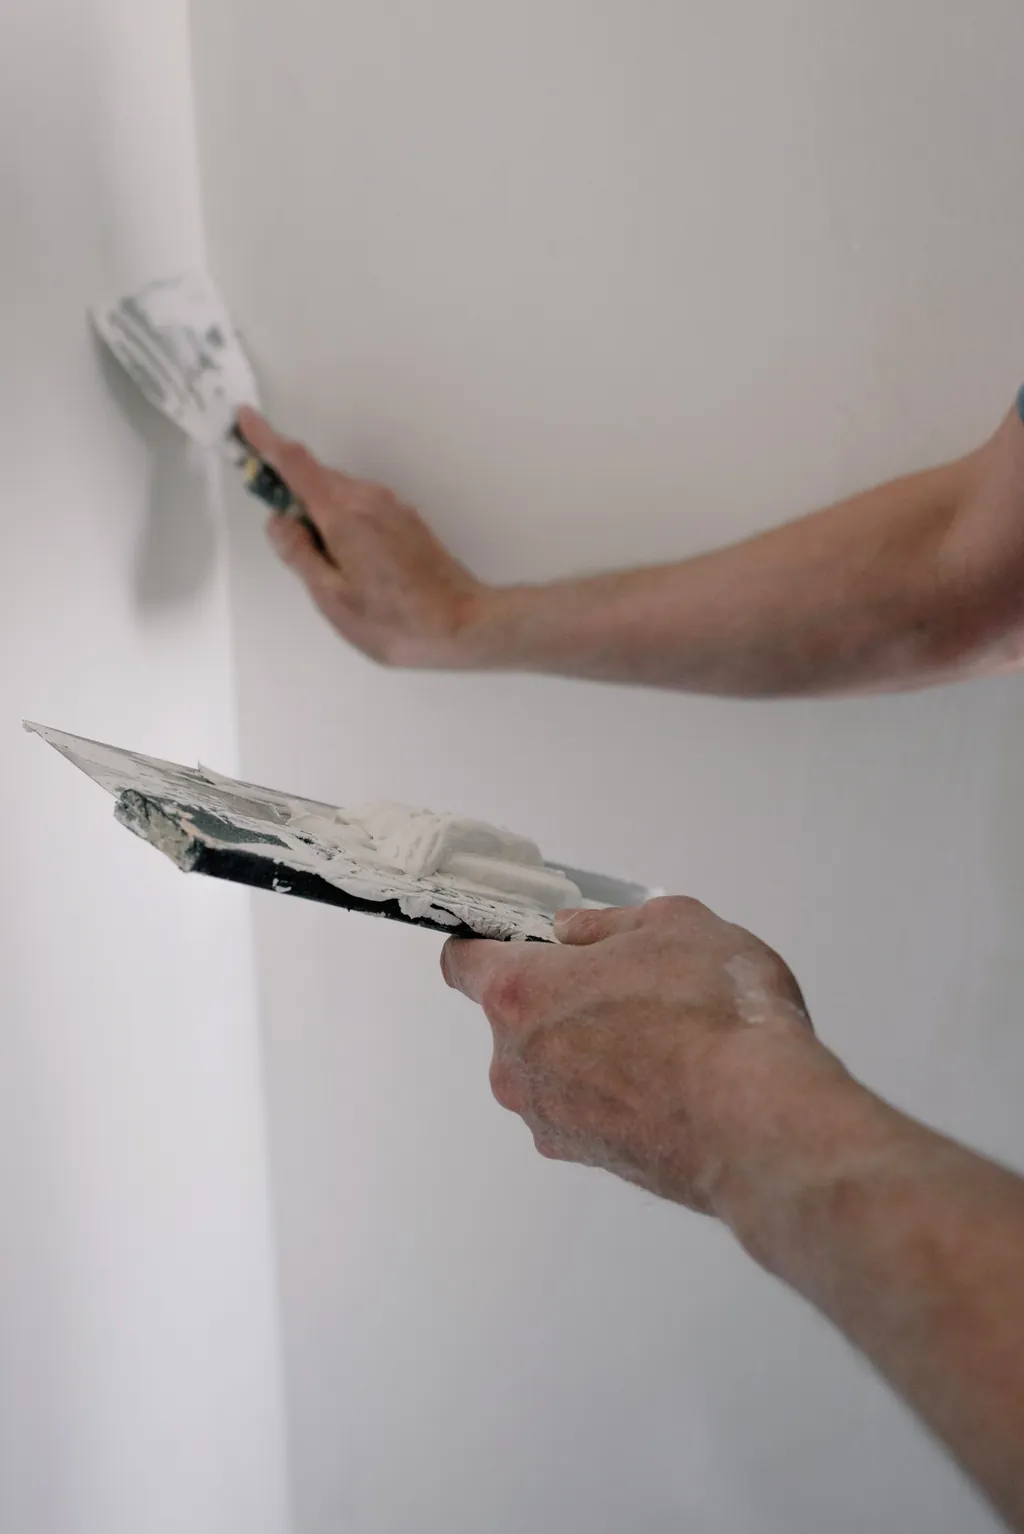
- Fill holes and cracks. Press compound in with a putty knife, scrape it flush and let it dry. Deeper repairs need a second coat. See how to patch holes in drywall.
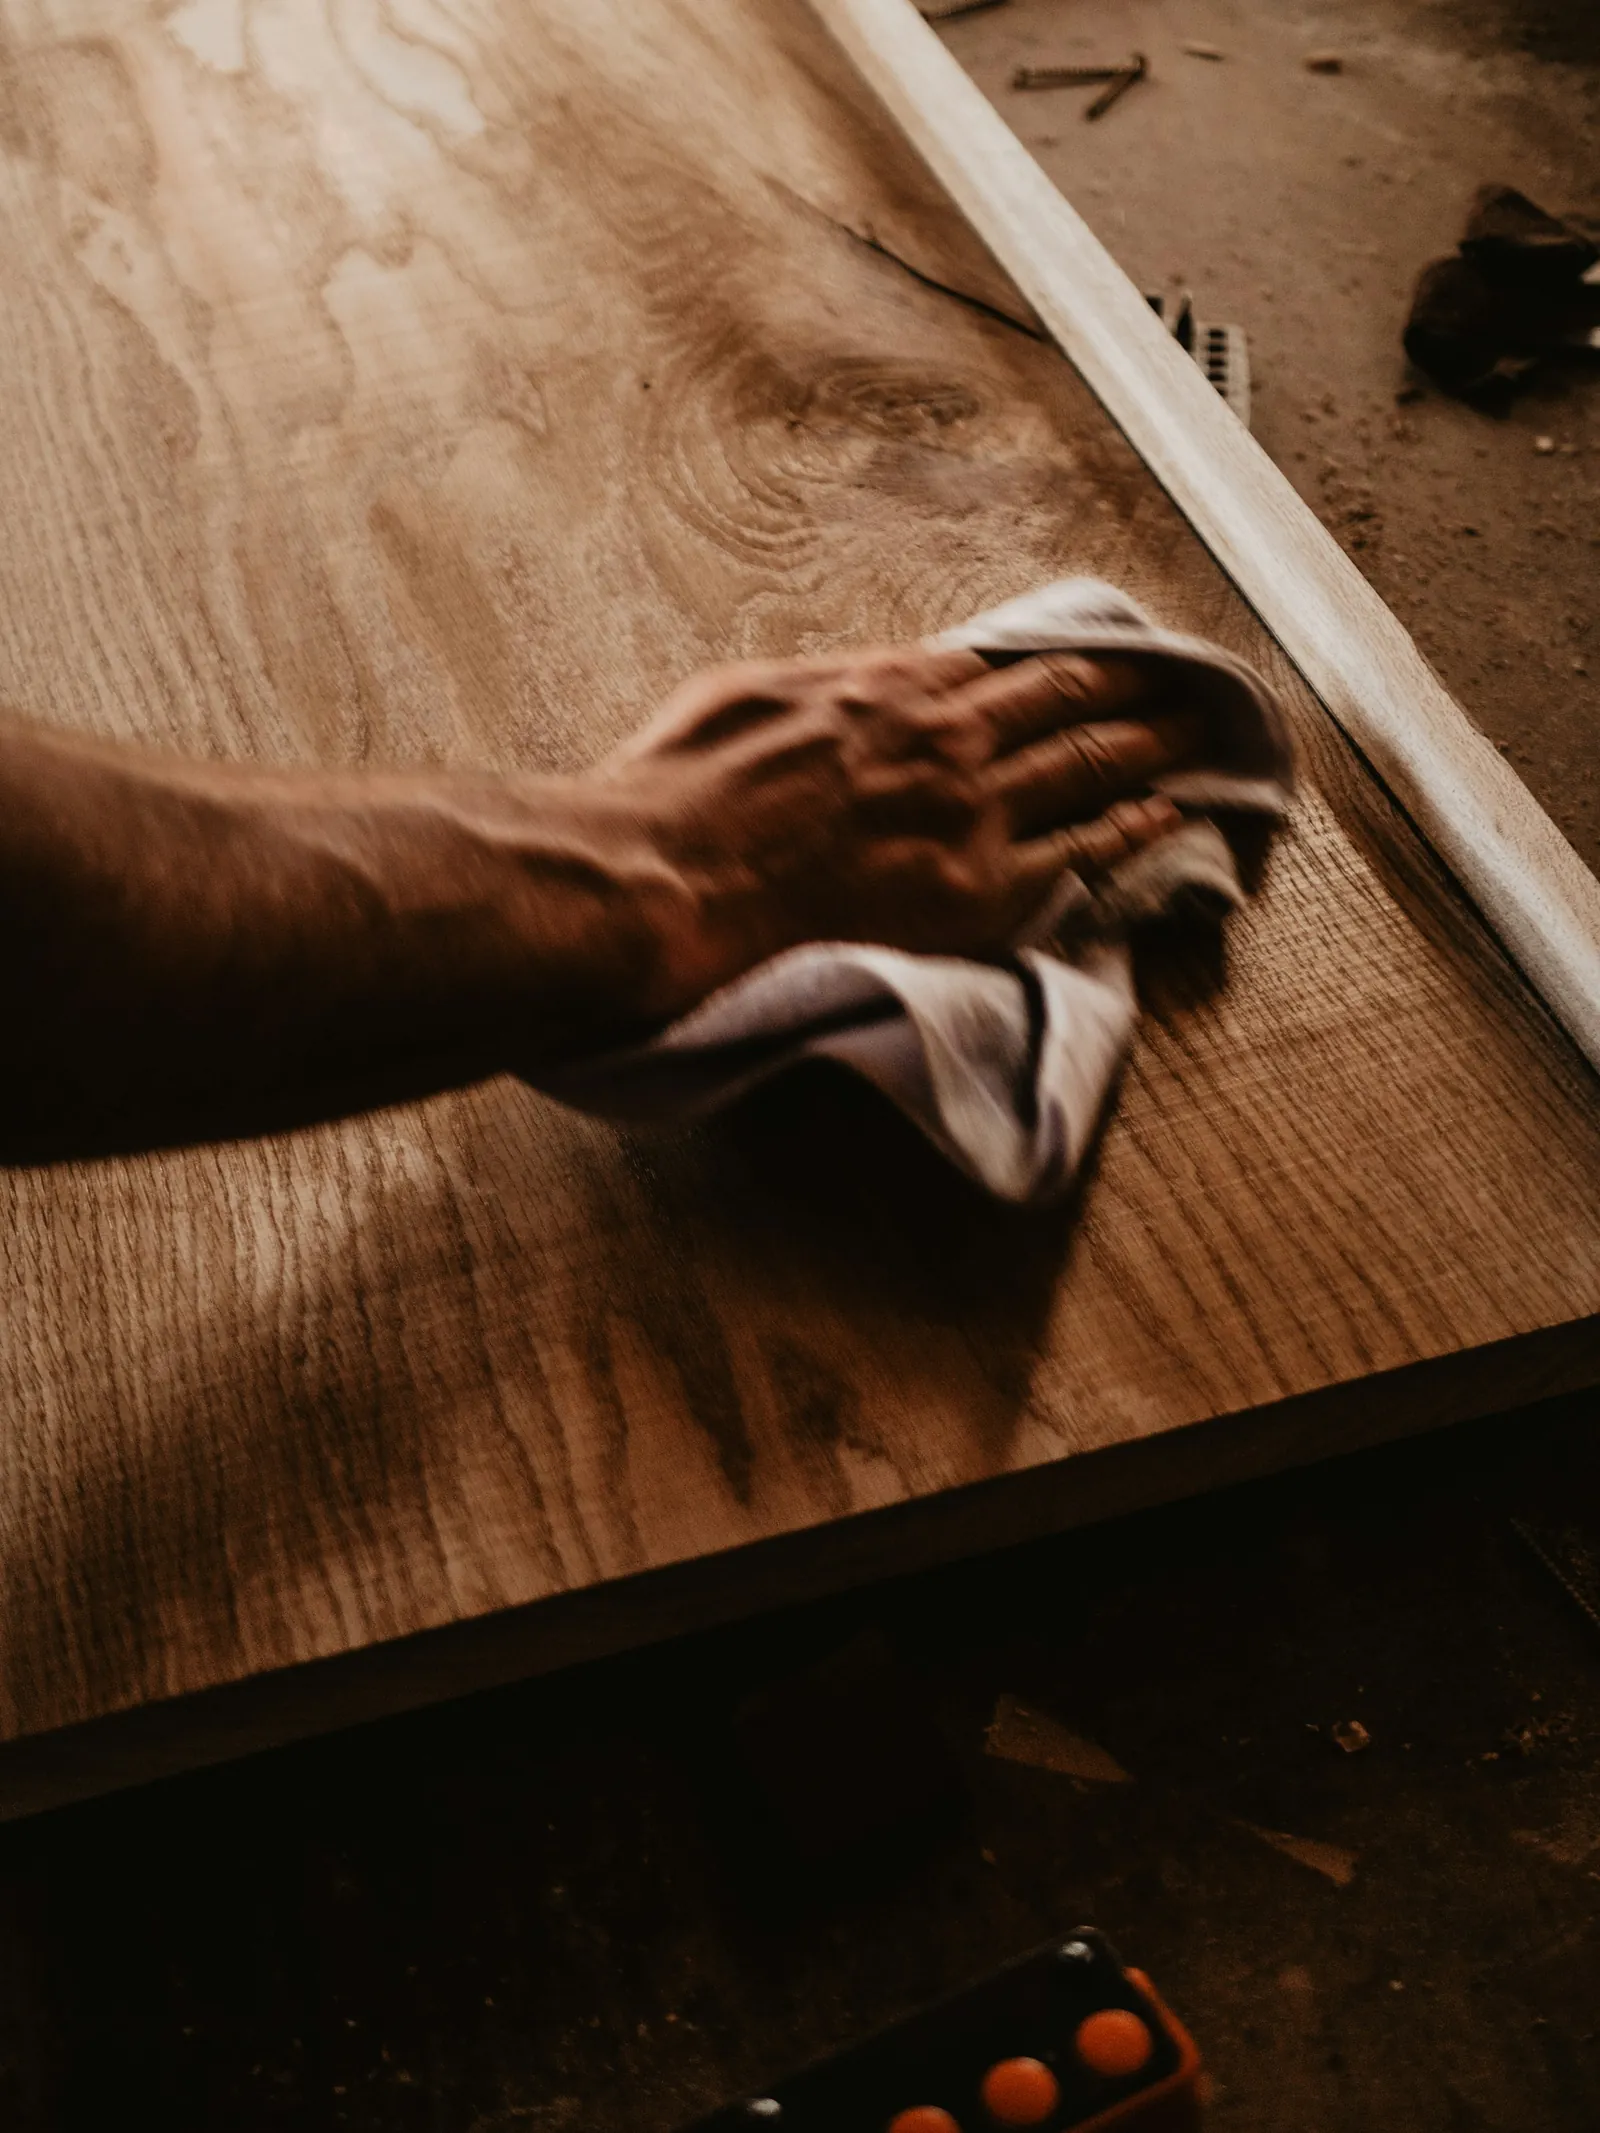
- Sand. Smooth the repairs flush with the wall and lightly scuff any glossy paint so the new coat grips. Wipe off the dust with a damp cloth.
- Caulk gaps. Fill hairline gaps along trim, door frames and the ceiling line with paintable caulk. Our post on caulking baseboards shows how.
- Prime. Spot prime patches and stains, and prime whole walls that are bare, glossy or changing color a lot.
- Tape and go. Tape the edges that need it, and you're ready to paint.
Patching and sanding, done right
For nail holes and small dings, press compound in with the putty knife held nearly flat, and scrape across the hole so it's flush. Deeper dents get two thin coats rather than one thick one, because thick compound shrinks and cracks. National Gypsum's repair guide covers popped nails too: drive a new nail into the stud about an inch and a half above, set the old one below the surface, then cover with compound.
When it's dry, sand with a light touch. A sanding sponge on a flat patch keeps you from digging a hollow around the repair, and a damp sponge works too once the compound has dried. Run your hand over the area, then check it again with the raking light. You want to be able to see the patch with the light but not feel it with your palm.
Cleaning without damaging the wall
Start dry: dust the walls, corners and ceiling line with a dry cloth or a soft brush. Then wash anything that looks greasy, smoky or touched. Use a mild detergent in warm water, a damp sponge and a light hand, then wipe with clean water. A soaked sponge can soften drywall paper and raise the texture, so wring it out well.
Kitchens and bathrooms need more attention, because grease and soap film stop paint from sticking. Never mix bleach with cleaners that contain ammonia, because EPA warns it can produce toxic fumes. For the full routine, see how to clean walls before painting.
The waits people skip
Most of the prep failures we see come from impatience. Compound that isn't dry shrinks and cracks under paint. National Gypsum's repair guide calls for 24 hours of drying between coats of compound. Thicker coats and cool, humid rooms take longer than that.
Cleaned walls need to be dry too. EPA says not to paint over moldy surfaces: clean up the mold and dry the surface first, because paint applied over mold is likely to peel. The same goes for caulk, so follow the tube for how long it needs before it can be painted.
Why primer matters on patches
Joint compound soaks up paint differently from the wall around it. Without primer, patched spots can show through the finished coat as dull or blotchy patches, even when the patch itself is perfectly smooth. National Gypsum's guide says to prime before painting, and it's the step that makes repairs disappear.
Primer also seals stains that would otherwise bleed through, such as water marks, smoke, crayon or marker. If a stain comes back through the first coat, spot prime it again with a stain-blocking primer before the second coat.
Priming: which kind and where
A general-purpose primer seals patches and evens out a wall's porosity. A stain-blocking primer is the one to reach for over water marks, smoke and marker. A bonding primer helps paint grip glossy or slick surfaces. Some paint is sold with primer built in, but it's no substitute for spot priming a patch or sealing a stain, because those need the real thing.
Prime all patches, even tiny ones. After the primer dries, look again in raking light, because primer shows flaws that were hiding under the compound. A second pass of compound and primer on a flawed patch is much cheaper than finding it in the finished wall.
Where DIY prep gets hard
- Older homes. EPA says homes built before 1978 are more likely to have lead-based paint, and scraping and sanding make dust. EPA's Renovation, Repair and Painting rule sets lead-safe work practices for paid work in those homes, and it generally doesn't cover homeowners working on their own, though EPA still asks them to follow lead-safe practices.
- Old texture and patching compound. EPA lists popcorn ceilings, patching and joint compounds and textured paints among materials that may contain asbestos, particularly in older buildings, and says you generally can't tell by looking. Don't sand or scrape material you suspect, and ask a professional to test it.
- Water stains and mold. Fix the leak first. EPA says not to paint over mold; clean it up and dry the surface. If the moldy area is larger than about 10 square feet, EPA points to more detailed remediation guidance.
- Big repairs. Cracked plaster, sagging drywall and large holes need more than spackle. A drywall pro, or a careful DIYer with the time, handles those.
- Dust. Sanding makes a lot of it. National Gypsum lists a damp sponge as an alternative to sandpaper for blending compound, and it keeps most of the dust out of the air.
If you're not sure about your home's age or a suspicious surface, stop and ask before you sand. Our post on painting older Madison homes covers plaster and the prep older houses need.
What we do before the paint comes out
On our interior painting jobs, floors and furniture are covered before any paint comes out, and small holes are repaired. Then comes the prep: cleaning, sanding, repairs and priming. Bigger drywall damage is a job for a drywall pro or a patient DIYer, not something we repair.
Most rooms take us one to two days, and pricing is by the square footage of the space, paint included. If you'd rather hand over the prep, mention your home's age when you call and ask for a free estimate.
Common questions
Do I need to sand walls before painting?
Sand repairs flush with the wall, and lightly scuff glossy paint so the new coat grips. A clean, dull, undamaged wall doesn't need more than a wipe. Never skip sanding over patches, because ridges show through paint.
Do I have to wash walls before painting?
Yes, at least where they're dirty. Grease, smoke and soap film stop paint from sticking. Dust the whole wall, wash the grimy spots with a mild cleaner and let everything dry before you paint.
Can I paint over a wall without priming?
Sometimes. A clean, sound wall painted a similar color usually takes paint directly. Patched spots, stains, bare drywall, glossy surfaces and big color changes should be primed first.
How long should I wait after patching before painting?
Wait until the compound is fully dry, and prime the patch before you paint. National Gypsum's repair guide calls for 24 hours between coats, and thicker coats or cool, humid rooms take longer.
Is it safe to sand old paint?
Not without checking first. EPA says homes built before 1978 are more likely to have lead-based paint, and sanding makes dust. Find out your home's age before you sand, and use lead-safe practices if it's older.
Sources
- Drywall Finishing and Repair, National Gypsum
- A Brief Guide to Mold, Moisture and Your Home, U.S. Environmental Protection Agency
- Reduce the Risk of Lead Exposure at Home, U.S. Environmental Protection Agency
- Lead Renovation, Repair and Painting Program, U.S. Environmental Protection Agency
- Post-Disaster Renovations and Asbestos for Homeowners and Workers, U.S. Environmental Protection Agency
More on interior painting and every how-to post.