
Caulking baseboards: closing the gaps before you paint
· 6 min read · By GK Painting & Remodeling

To caulk baseboards, use a paintable acrylic latex caulk, clean and dry the joint, cut the tip small, run one steady bead along the gap between the top of the baseboard and the wall, smooth it with a damp finger, and let it set as the tube directs before you paint. Caulk fills gaps up to about a quarter inch, and that's most of what shows.
Here's which caulk to buy, how to prep the joint, the steps in order, and the mistakes that leave a messy line.
What you'll need
- Paintable acrylic latex caulk, or a paintable siliconized acrylic latex, in a standard tube.
- A caulk gun, preferably with an automatic release so it stops pushing when you let go.
- A utility knife, and a long nail or a wire to puncture the tube's inner seal.
- A putty knife or scraper, to remove old caulk and loose paint.
- A vacuum or soft brush, and a damp rag or sponge.
- A cup of water for wetting your finger or tool.
- Painter's tape, if you want extra-sharp lines.
- Wood filler or spackle for nail holes.
Choose a caulk you can paint
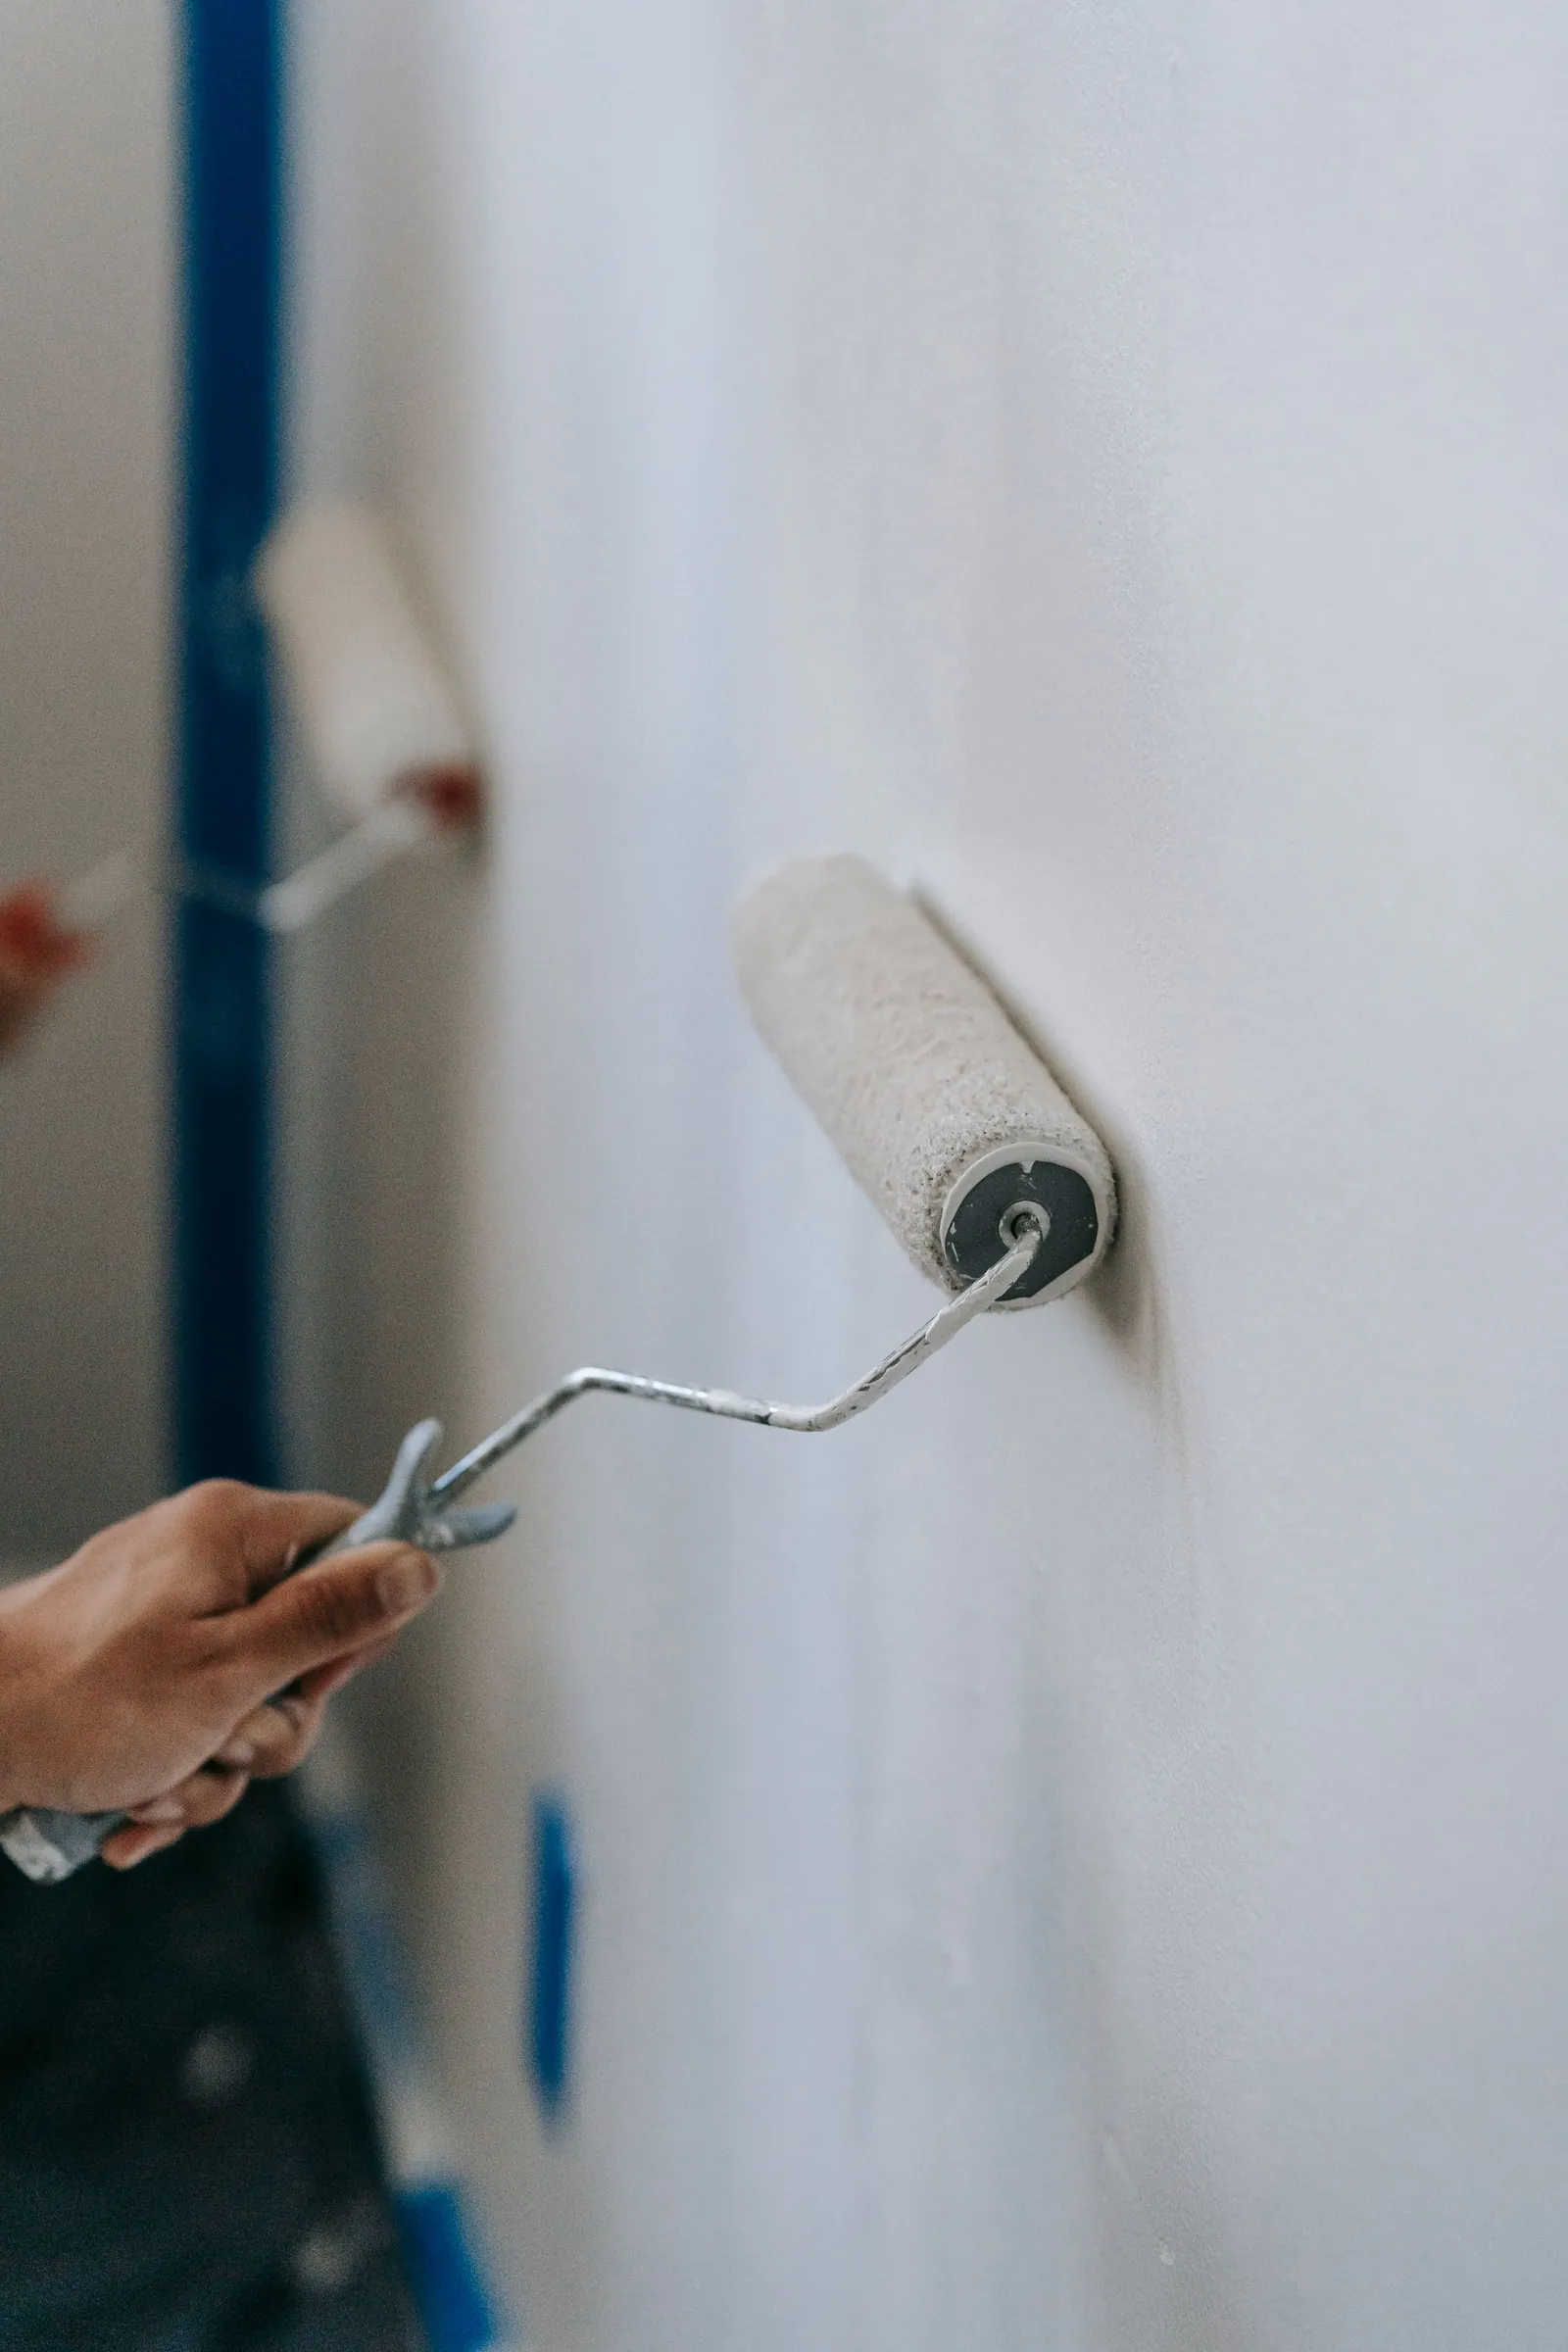
Not all caulk takes paint. Missouri Extension's table of sealants says latex caulk is easy to use, cleans up with water, can be sanded and painted, and smooths with a moist finger or tool. It also says paint will not adhere to most cured silicone, which makes straight silicone a poor choice anywhere paint is going on.
| Caulk | Paintable? | Best for |
|---|---|---|
| Acrylic latex | Yes | Baseboard to wall, trim joints |
| Siliconized acrylic latex | Yes | Joints that need more flex |
| Pure silicone | No, not on most | Tubs, tile, glass |
Fine Homebuilding's comparison finds siliconized acrylic latex adheres better and stays more flexible in cold temperatures than plain acrylic latex, and that both can be tooled with a wet finger, cleaned up with water and painted with oil or water-based paints. Either one is a good baseboard caulk. Read the tube for the word paintable.
Prep the joint
Missouri Extension recommends cleaning every area to be caulked, removing old caulk or paint with a putty knife, and making sure the area is dry so you don't seal in moisture. Do exactly that. Vacuum out the gap, wipe the baseboard top and the wall just above it with a damp rag, and let it dry.
Check the size of the gap. Missouri Extension says caulk forms flexible seals for gaps and joints less than a quarter inch wide. Wider gaps need something else: a strip of backer, wood filler, or a thin piece of trim, with caulk to finish the line. Also look for mildew. EPA says not to paint or caulk moldy surfaces, so clean it with detergent and water and let the area dry first.
Caulking baseboards, step by step
- Cut the tip of the tube at a 45 degree angle, with a small opening. You can always cut more, but you can't cut less.
- Puncture the inner seal with a nail or wire, and load the tube into the gun.
- Tape the wall about an eighth of an inch above the gap and the baseboard just below it if you want a razor-sharp line. Most people skip this once they're comfortable.
- Hold the gun at about a 45 degree angle, as Missouri Extension suggests, so the caulk is pushed into the gap as it comes out of the tube.
- Run the bead in one continuous stream along three to four feet of baseboard, avoiding stops and starts. Release the trigger before pulling the gun away so you don't leave a blob.
- Smooth the bead right away with a damp finger or a tool, pressing it into the gap and wiping the excess along the line. Rinse your finger as you go.
- If you used tape, pull it off before the caulk skins over.
- Repeat for the next section. Fill inside corners and the seams where two pieces of baseboard meet.
- Come back the next day and look. Latex shrinks as it dries, and Missouri Extension lists 5 to 10 percent for latex, so a second thin pass is common.
- Paint once the caulk has set as the tube directs.
Work in short sections so the caulk doesn't skin over before you smooth it. If you make a mess, wipe it off immediately with a damp cloth, because dried latex caulk on a painted wall is a hassle to remove.
Corners, seams and awkward spots
Inside corners are where baseboard pieces meet at an angle, and they often have a hairline gap. Run a short bead straight into the corner, then smooth it with a damp finger from each side. Where two pieces butt end to end, a small bead across the seam hides the line. On outside corners, fill only visible gaps, and keep the bead thin so it doesn't round the corner off.
Behind radiators, around vents and where baseboard meets a door casing, use a smaller opening in the tip, and a tool in place of your finger if your hand won't fit. A plastic spoon or a caulk-smoothing tool works well. Go slowly there, because those are the spots that get looked at.
What not to caulk
Caulk the top edge of the baseboard, the corners and the seams. Leave the bottom edge alone on wood floors, which move with the seasons, and use shoe molding to hide a gap at the floor. The gaps between shiplap boards stay uncaulked for the same reason. Latex has little flexibility once cured, according to Missouri Extension, and a joint that moves will crack the bead.
Don't try to fill a gap with a thick glob. A fat bead of caulk cracks and sags, and it shows. Fix large gaps at the source or pad them first.
Where DIY gets hard
- Uneven walls. Plaster and old drywall make the gap wider in some places and nonexistent in others, so the bead width changes constantly.
- A wobbly line. It takes practice to keep a steady speed and pressure, and the top of a baseboard shows every wobble.
- Smears on the wall. Overdone smoothing spreads caulk onto the paint, which then needs touching up.
- Old caulk. Cracked, yellowed or painted-over caulk has to come out first, or the new bead won't stick.
- Choosing the wrong tube. Kitchen and bath silicone looks like trim caulk until the paint won't stay on it.
- Long runs. Whole-house baseboards add up to hundreds of feet of line, and the work is tedious.
Fixing a messy bead
Smears happen to everyone. Wipe fresh latex caulk off the wall right away with a damp cloth, and rinse it often so you're not spreading it around. Missouri Extension suggests that if caulk oozes out of a crack, you can push it back in with a putty knife, and that if it shrinks, you should reapply to form a smooth bead that seals completely.
If a bead has dried badly, don't paint over it. Slice it out with a utility knife, scrape the groove clean, dry the joint and start again. A bead that's too fat is best cut back to a thin line, because paint won't hide a lump.
Where caulk fits in the paint job
Caulk goes in after cleaning, patching and sanding, and before priming and painting. That's the order in our guides to prepping walls for painting and painting trim, and in how to paint a room. A crisp caulk line along the baseboard is one of the quiet details that make a room look professionally painted, and it's worth doing before you paint the baseboards themselves, as our guide to painting baseboards explains.
If you'd rather leave trim and prep to someone else, our interior painting covers walls, ceilings, trim and doors. Mention gaps along your baseboards when you call, and George will tell you what he'd do. The written quote is the price, no extra charge if the job takes longer than expected. Ask for a free estimate to get started. Crown gets the same caulk treatment where it meets the ceiling; see how to paint crown molding.
Common questions
Should I caulk baseboards before or after painting?
Before. Caulk the gaps, let it set, then paint the baseboard and the wall so the paint seals the caulk line. Some people touch up the caulk line again after the final coat.
What kind of caulk should I use on baseboards?
A paintable acrylic latex or siliconized acrylic latex caulk. Avoid pure silicone, because paint won't adhere to most cured silicone.
How big a gap can I fill with caulk?
Missouri Extension says caulk seals gaps and joints less than a quarter inch wide. Wider gaps need backer, filler or trim first.
How long should caulk dry before painting?
Follow the tube. Paint-after times vary by product, and a thicker bead takes longer to set. Latex also shrinks as it dries, so check the line again before you paint.
Should I caulk the bottom of the baseboard?
Usually not. Floors expand and contract, and rigid caulk at the bottom tends to crack. Shoe molding hides a floor gap better.
Sources
- Insulating and Weatherizing Your Home, University of Missouri Extension
- What's the Difference: Paintable Caulk, Fine Homebuilding
- A Brief Guide to Mold, Moisture and Your Home, U.S. Environmental Protection Agency
More on interior painting and every how-to post.