Painting a room yourself: our order of work, from tape to cleanup
· 6 min read · By GK Painting & Remodeling
Paint a room in this order: prep, ceiling, walls, then trim and doors, with the floor and furniture covered first. Most of the quality is in the prep and in giving each coat the time it needs to dry.
Below are the tools, the steps in the order we work, the real drying times and the places where DIY gets hard. It's a very doable two-day project for an average-sized room, as long as you don't rush the first hour or the last coat.
What you'll need
- Interior paint for the walls, ceiling paint if you're painting the ceiling, and trim paint if the trim is changing.
- Primer for patched spots, stains, bare drywall or a big color change.
- A 2.5 to 3 inch angled brush for cutting in, and a smaller one for trim.
- A roller frame, roller covers suited to your wall texture, a tray with liners, and an extension pole.
- Painter's tape, drop cloths, and plastic sheeting for furniture you can't move.
- Patching compound, a putty knife, sanding sponges, a damp sponge and rags.
- Paintable caulk and a caulk gun for gaps along trim and ceiling lines.
- A sturdy ladder or step stool, a work light, and a paint can opener and stir stick.
To buy the right amount, measure each wall, add the areas together, subtract big openings and divide by the coverage printed on the can. Dunn-Edwards recommends at least two coats for the truest color and best coverage, so plan on that. Our post on how much paint you need walks through the math.
Settle color and sheen first

Do this before you buy gallons. Paint a large sample on the wall, or on a board you can move, and look at it in morning light and evening light. A color that reads warm at noon can turn gray under lamps. Our post on testing paint colors shows how to do it without wasting paint.
Sheen matters as much as color. Flat hides flaws but marks easily, while satin and semi-gloss wipe clean and show more of the wall's imperfections. Most living spaces and bedrooms do well with a low sheen, and kitchens, baths and hallways often want something tougher. Our room-by-room sheen guide goes through the options.
The steps, in our order
- Clear and cover. Move out what you can, cover the floor and the furniture that stays, and take off switch plates, vent covers and curtain hardware.
- Repair. Look along the walls with a light held at a low angle to find nail holes, dents and cracks. Fill, let dry, sand smooth. Our guides to patching holes in drywall and prepping walls for painting go step by step.
- Clean. Dust the walls and ceiling, and wash greasy or grimy spots, then let them dry. See how to clean walls before painting.
- Caulk. Fill gaps between trim and wall, and along the ceiling line, with paintable caulk. Smooth it with a damp finger and let it set according to the tube.
- Prime. Spot prime every patch and stain. Prime the whole wall if it's bare, glossy or going from dark to light.
- Tape what needs it. Tape the trim edges and the ceiling line if your hand isn't steady yet. Our post on using painter's tape shows how to get crisp lines.
- Paint the ceiling first, so drips and spatter fall on surfaces you haven't painted yet. See how to paint a ceiling.
- Cut in the walls. Brush a band along the ceiling line, corners and trim, working one wall at a time.
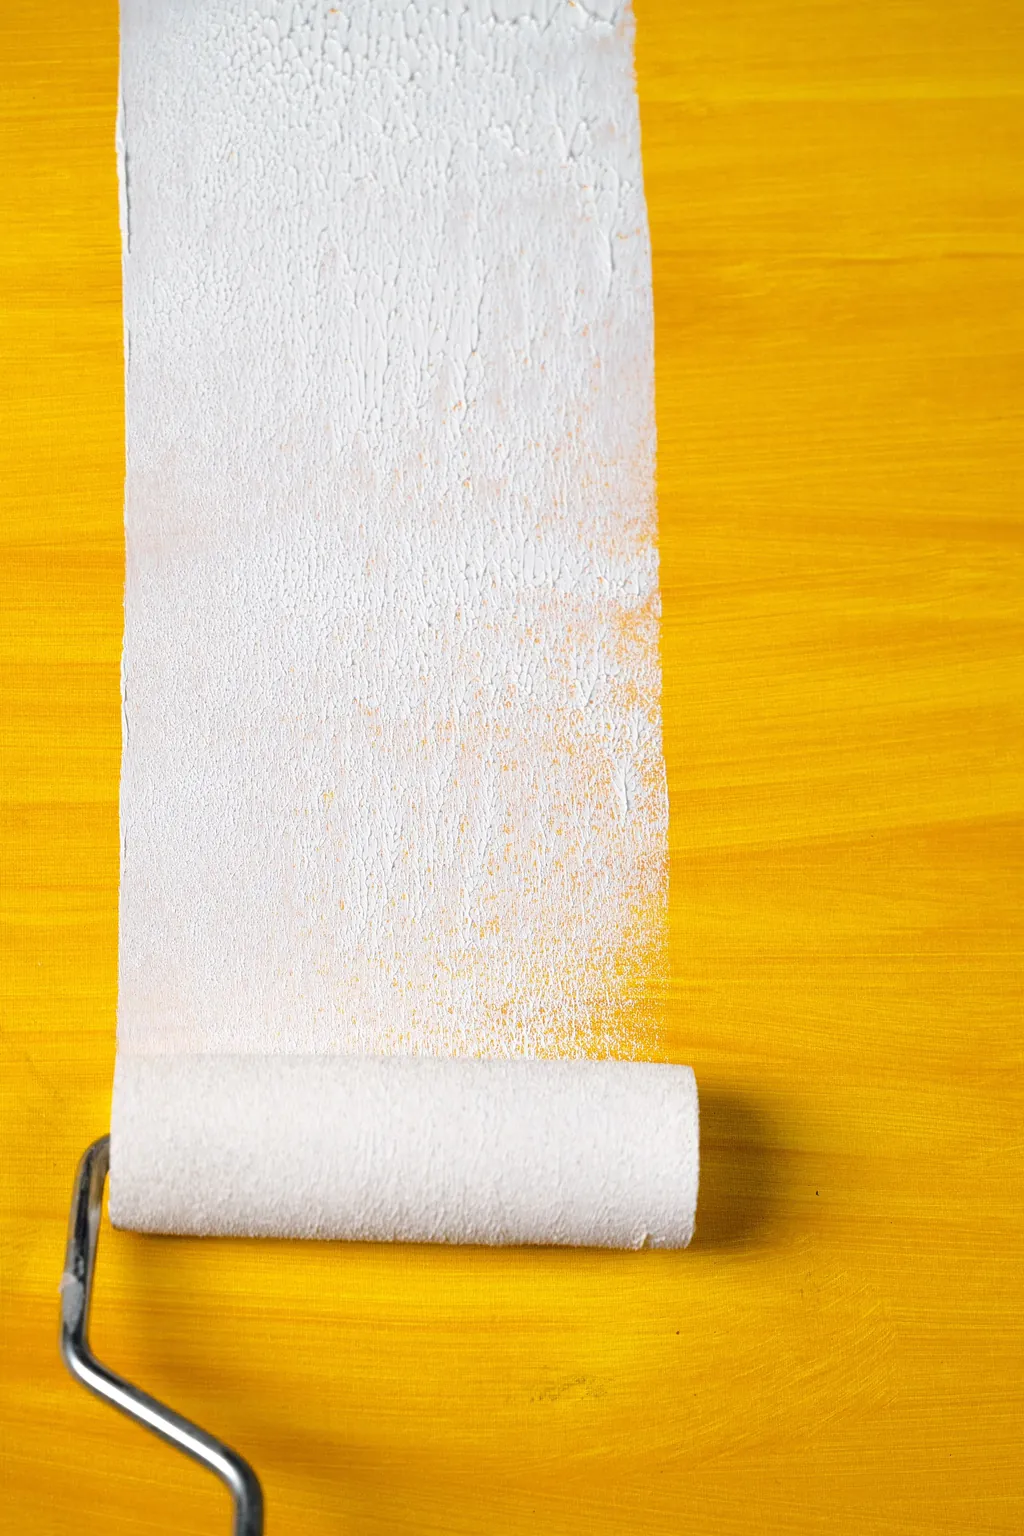
- Roll the wall while the cut-in band is still wet. Work in sections about three feet wide, top to bottom, and keep a wet edge so the sections blend.
- Let the first coat dry, then repeat for the second. Rolling a dry edge is how lap marks happen.
- Paint the trim and doors last. A glossier trim paint gets a clean edge against finished walls.
- Pull the tape slowly at an angle once the paint is dry to the touch, then clean up and put the room back.
Cutting in and rolling, the part that shows
Dip only the first third of the brush bristles, tap off the extra, and lay down a band of paint about two inches wide along the edge. Press just enough to flex the bristles against the line, then pull. Cutting in a single wall and rolling it right away is what lets the brushed band and the rolled paint melt together instead of showing as a frame.
For the rolling, load the cover evenly, roll a loose letter W about three feet wide, then fill it in without lifting. Finish each section with a light pass from top to bottom, and move over before the edge dries. Use the right roller for your texture: our post on what nap roller to use explains.
Drying times, and why they matter
Dunn-Edwards says water-based coatings are usually dry to the touch in one to two hours and ready for a second coat in two to four. That's the schedule on a warm, dry day with good airflow. Cool, humid air and dark colors slow it down, so give the paint longer in a closed-up room in February.
Dry isn't cured. Latex paint keeps hardening for 14 to 30 days, according to the same bulletin. During that window the finish is at its softest, so hold off on scrubbing the walls or pushing furniture against them.
Where DIY gets hard
- Cutting in. A straight line freehand along a ceiling or trim takes practice, and a wobbly line is the first thing people see. Our post on how to cut in paint helps.
- Roller marks and lap marks. They come from rolling dry edges, pressing too hard or running low on paint. See how to avoid roller marks.
- Big color changes. Going from dark to light takes primer and often an extra coat. Our post on painting over dark paint covers it.
- Height. High ceilings, stairwells and tall walls mean ladders and reaching, and that's where most of the risk and fatigue are.
- Textured or damaged walls. Plaster cracks, heavy texture and patched drywall all need more prep than a smooth wall.
- Choosing the color. Test large samples on the wall and look at them morning and evening. See how to test paint colors.
If your house was built before 1978, EPA says its paint is more likely to contain lead. EPA's Renovation, Repair and Painting rule sets lead-safe work practices for paid work in older homes, and in general it doesn't cover homeowners doing their own work, though the dust risk is the same. Find out before you scrape or sand.
Cleanup and touch-ups
Clean brushes and rollers right away while the paint is wet; dried latex is a hard way to end a job. Our post on cleaning paint brushes shows how. Store leftover paint airtight, away from freezing, and label the can with the room and date. See how to store leftover paint.
Save a little of every color for touch-ups, and wait until the walls have cured before you judge them. Scuffs and nail marks are far easier to fix with the same paint in hand, as our post on touching up paint explains.
A realistic timeline
For one average bedroom, plan on a day for prep and the ceiling, and a second day for walls, the second coat and trim. Add time if you're moving heavy furniture, repairing a lot of damage or changing color dramatically. Our post on how long it takes to paint a room breaks the hours down.
When hiring makes sense
A single bedroom is a fine place to learn. Hiring makes more sense when the job is a whole floor, a stairwell or a vaulted ceiling, when you're changing a dark color to a light one, or when you simply don't have the free days. Our guide to DIY painting versus hiring a pro lays out the trade.
Here's how our interior painting works. We cover floors and furniture first, repair small holes, and then prep, prime and paint. Most rooms take one to two days. Pricing is by the square footage of the space, paint included. We use premium paint from Sherwin-Williams and Behr, and Behr is the more economical of the two. The written quote is the price, no extra charge if the job takes longer than expected.
It starts with a phone call, and George visits if he needs to see the space. When you're ready, ask for a free estimate.
Common questions
Do I paint the ceiling or the walls first?
Paint the ceiling first. Drips and spatter from overhead land on the walls, and it's easier to cover those than to repaint a finished ceiling. Trim and doors come last.
How many coats of paint does a room need?
Two coats is the standard for a clean, even color. Dunn-Edwards recommends at least two. A big color change may need primer plus two coats.
Do I need to prime before painting a room?
Prime patched spots, stains, bare drywall and glossy surfaces, and prime when you're covering a dark color with a light one. Walls that are clean, sound and already painted a similar color often don't need it.
Should I tape the room or cut in freehand?
Either works. Tape gives a clean line while you're learning, and a good angled brush does it faster once you have a steady hand. Pull tape before the paint fully hardens so it doesn't peel the edge.
How long should I wait between coats?
For water-based paint, two to four hours is typical on a warm, dry day, and longer when the room is cool or humid. Follow the can, and when in doubt, wait longer.
Sources
- Dry Time versus Cure Time of Paint (technical bulletin), Dunn-Edwards
- How Much Paint to Buy (painting tips), Dunn-Edwards
- Volatile Organic Compounds' Impact on Indoor Air Quality, U.S. Environmental Protection Agency
- Reduce the Risk of Lead Exposure at Home, U.S. Environmental Protection Agency
- Lead Renovation, Repair and Painting Program, U.S. Environmental Protection Agency
More on interior painting and every how-to post.