
Painting trim yourself: prep, caulk and a steady brush
· 6 min read · By GK Painting & Remodeling
To paint trim, clean it, scuff the old gloss, fill nail holes, caulk the gaps, prime anything bare or stained, then brush on two thin coats of trim paint, letting each one dry before the next. The brush strokes you leave are the finish you'll live with, so thin coats and patience beat speed.
Trim is a small share of a room's surface and a large share of how it looks. Here's the order we work in, with the tools, the drying waits and the parts where DIY gets hard.
What you'll need
- Trim paint in the sheen you want, and primer for bare wood, stains and patches.
- A good 2 inch angled brush, and a 1 inch one for tight spots.
- Painter's tape for floors and walls, and drop cloths along the baseboards.
- A putty knife, wood filler or spackle for nail holes, and fine sandpaper or sanding sponges.
- Paintable caulk and a caulk gun.
- A bucket, sponges, rags and a mild degreasing cleaner.
- A small container to pour paint into, so you aren't dipping from the big can.
- A flexible taping knife or a wide scraper, to shield the floor along the baseboard.
Prep decides the finish
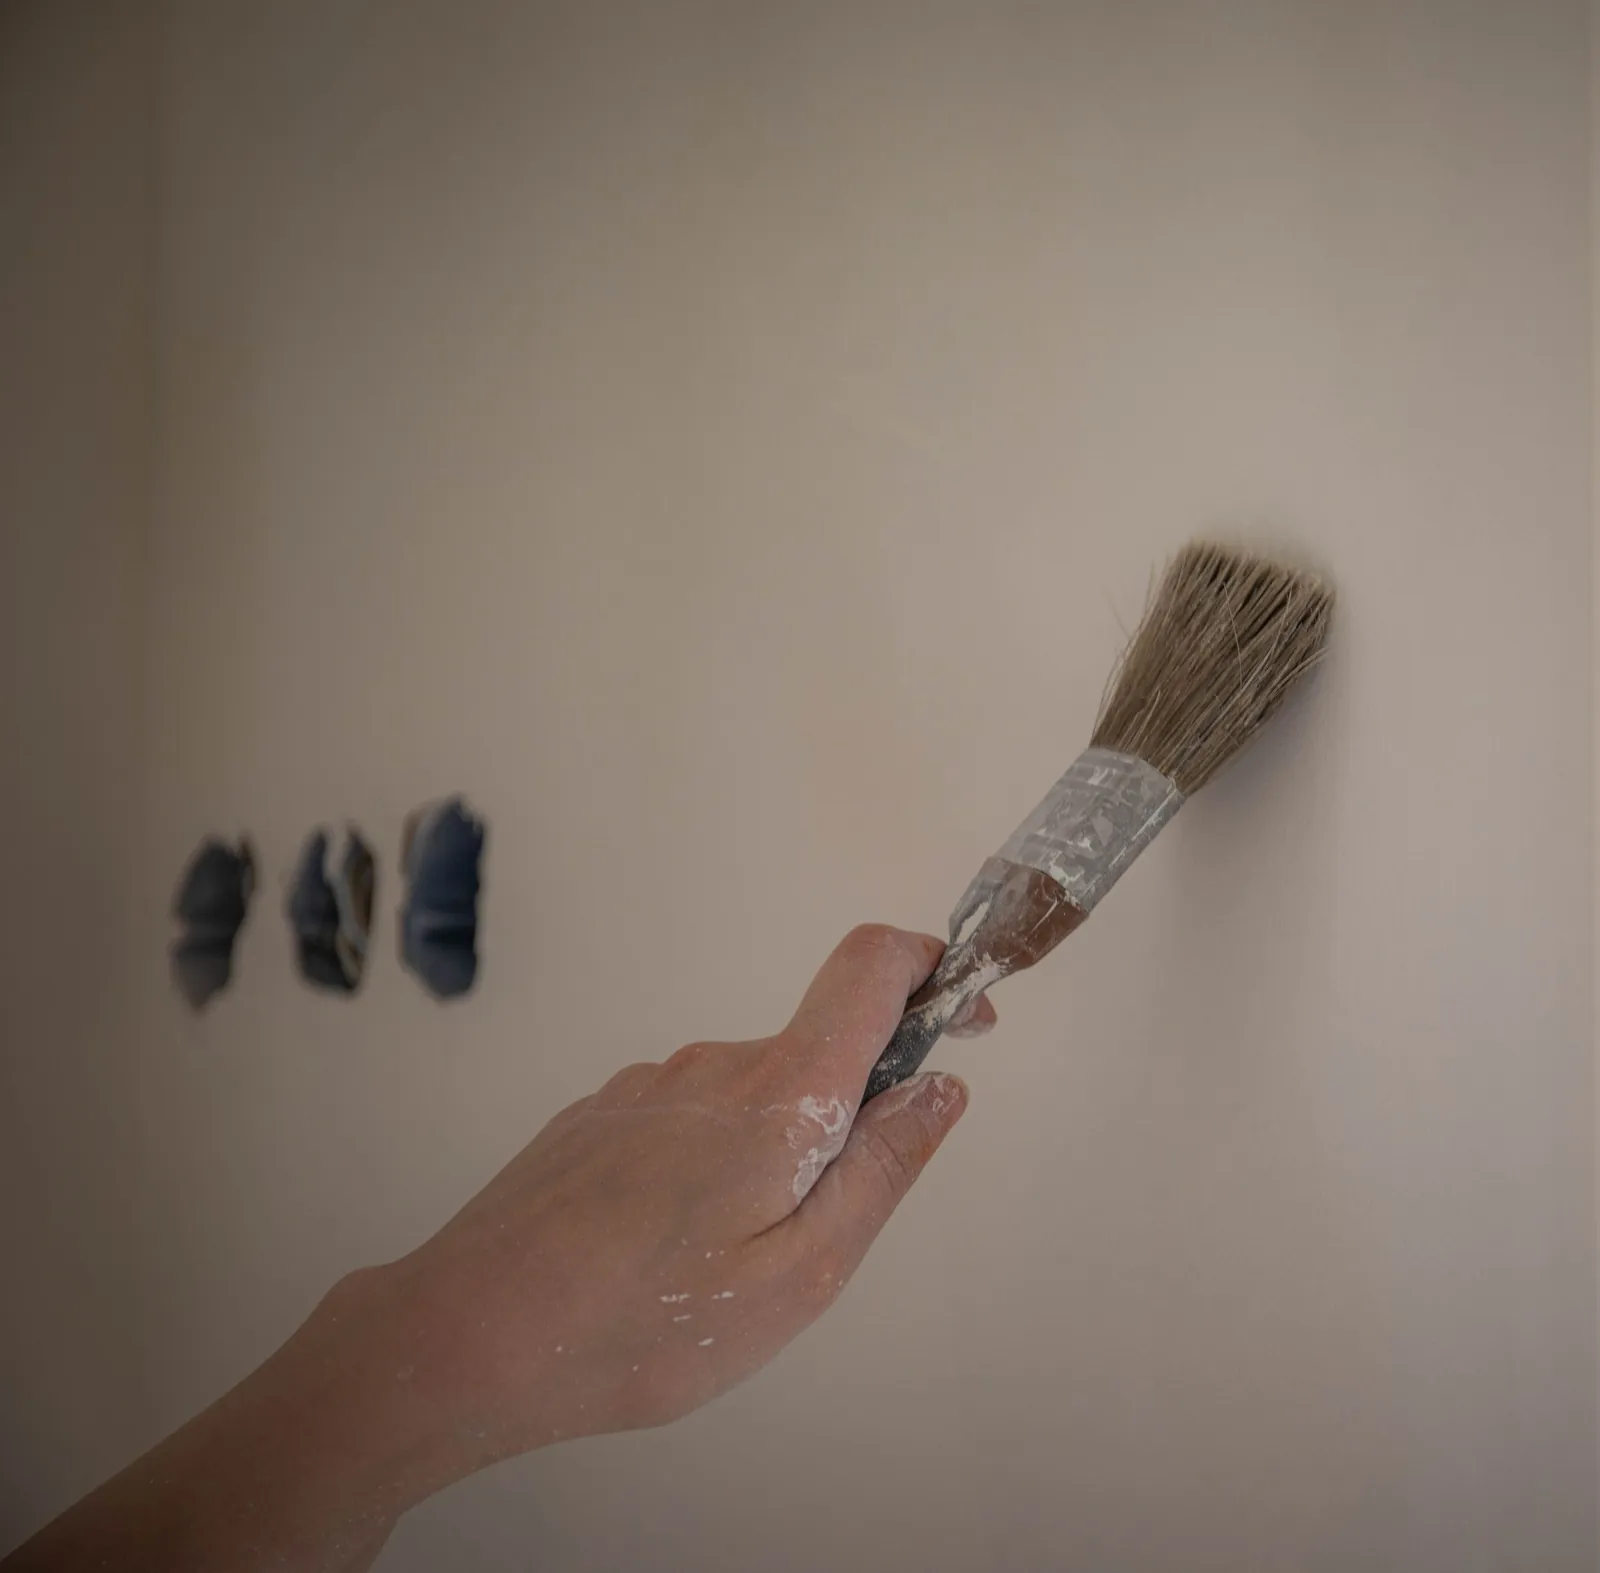
Trim gets touched, kicked and wiped more than any wall, so it carries oil from hands and grime from floors. Wash it with a mild cleaner, rinse with clean water and let it dry. Then scuff glossy trim with fine sandpaper until the shine is dull, because new paint grips a dull surface better than a glossy one.
Fill nail holes and dings, let the filler dry, sand it flush and wipe off the dust. Then deal with the gaps. Trim rarely sits tight to the wall, and a thin bead of paintable caulk along the top edge and at the joints makes the whole job look finished. Missouri Extension notes that latex caulk can be smoothed with a moist finger or tool, and that it can be sanded and painted, while paint won't stick to most cured silicone. Use latex or a paintable blend where paint will go. Our post on caulking baseboards goes through the technique.
Prime bare wood, knots, stains and filler. A stain-blocking primer keeps tannins and marks from bleeding through light paint. If your house was built before 1978, EPA says its paint is more likely to contain lead, and old trim often has many layers. EPA's Renovation, Repair and Painting rule sets lead-safe work practices for paid work in older homes and generally doesn't cover homeowners working on their own, though EPA asks DIYers to follow lead-safe practices. Wet the surface before you scrape or sand it, and find out before you start.
Step by step
- Clear the area and cover the floor along the baseboards. Remove outlet covers and hardware you can.
- Wash the trim, rinse it and let it dry fully.
- Scuff sand glossy surfaces, then wipe off the dust with a damp cloth.
- Fill nail holes and dents. Let the filler dry, sand it flush and wipe again.
- Caulk the gaps with paintable caulk, smooth the bead, and let it set as the tube directs.
- Prime bare wood, stains and repairs, and let the primer dry.
- Tape the wall edge if you need to, and shield the floor.
- Brush on the first coat of trim paint in thin, even strokes, working with the grain.
- Let it dry. Dunn-Edwards puts water-based recoat times at two to four hours, so don't rush a damp morning.
- Sand very lightly with fine paper, wipe off the dust and brush on the second coat.
- Pull the tape slowly once the paint is dry to the touch. If paint has bridged the edge, score the line with a utility knife first.
In our room-by-room order, trim comes after the ceiling and the walls, so the last thing you do is the cleanest line in the room. See how to paint a room for the full sequence.
Brush technique that avoids marks
Pour some paint into a small container and dip only the first third of the bristles. Tap off the extra rather than wiping it on the rim, and lay the paint on with light pressure, pulling along the length of the piece. Overworking the paint is what leaves ridges. If you've missed a spot, wait for the coat to dry rather than going back into it.
Work in manageable runs, and keep a wet edge so the end of one stroke blends into the start of the next. On baseboards, start along the top edge, then fill in the face, then finish the bottom edge. For clean wall and ceiling lines, see our posts on cutting in and using painter's tape.
Drying, sticking and curing
Dunn-Edwards says water-based paint is dry to the touch in one to two hours and oil-based in four to eight, with oil-based coats often getting 8 to 10 hours before another coat. It also says higher-gloss coatings take longer to fully cure than low sheens, which matters because trim is usually semi-gloss or satin.
That's why freshly painted doors and windows can stick. Latex cures over 14 to 30 days according to the same bulletin, and until then the film stays soft. Don't close a door or window hard against fresh paint for the first few days, and avoid scrubbing painted trim for a couple of weeks.
Windows, doors and casings
Casings are painted like baseboards, but the order matters on a window: sash and any operable parts first, then the frame, then the casing around it. Keep the sashes slightly open while you paint so they don't glue shut, and move them gently after each coat. On doors, take them off their hinges if you can, lay them flat and paint the panels before the rails and stiles. Our guide to painting interior doors covers that in full. Crown is the one piece of trim you paint from a ladder; our post on painting crown molding covers the color choice, the order and ladder safety.
Choosing the paint and the sheen
Trim paint is formulated to be harder than wall paint and to wipe clean, which is why a glossier sheen is the usual choice. Our guide to the best paint for trim compares waterborne alkyd, acrylic and oil. Satin hides a little more of the imperfections underneath, and semi-gloss gives a crisper edge and takes more abuse. Our guides to painting baseboards and painting interior doors get into the details.
Where DIY gets hard
- Long straight lines. A 12 foot baseboard run shows every wobble, and one slip along the floor or wall is visible from across the room.
- Drips and sags. Gloss paint runs on vertical trim if you load the brush heavily. Look back over each piece a few minutes after painting.
- Old oil-based trim. Slick, hard, many-layered trim needs thorough cleaning, scuffing and primer before new paint will hold.
- Tight corners. Behind radiators and toilets, and around door casings, the angles are awkward and the temptation to skip them is strong.
- Painting things shut. Window sashes and door edges need to be moved and freed while the paint is still soft.
When hiring makes sense
Trim is one of the better DIY projects because it's contained, but it rewards patience. Hiring starts to make sense when the house has a lot of trim, old oil-based layers, tall casings or stairs, or when you want crisp lines and don't have the free days. Our guide to DIY painting versus hiring a pro lays out the trade.
Trim and doors are part of our interior painting. We cover floors and furniture first and repair small holes, and most rooms take one to two days. The written quote is the price, no extra charge if the job takes longer than expected. You can ask for a free estimate and mention your home's age when you call.
Common questions
Do I need to prime trim before painting?
Prime bare wood, stains, knots and filled spots. Clean, scuffed trim that's already painted usually takes trim paint directly, though glossy old oil-based trim is safer with a bonding primer.
Should I paint trim before or after the walls?
We paint trim after the ceiling and the walls, so the trim is the cleanest line in the room. Some painters do trim first. Either order works if you tape and cut in carefully.
What's the best way to avoid brush marks on trim?
Use a good angled brush, thin coats and light pressure, and don't go back over paint that has started to dry. Sanding lightly between coats smooths what's left.
How long does trim paint take to dry?
Water-based trim paint is dry to the touch in one to two hours and ready for another coat in two to four. It keeps curing for 14 to 30 days, so be gentle with it at first.
Can I paint over caulk?
Yes, if it's paintable latex or a paintable blend. Most cured silicone won't hold paint, so use it only where paint won't go, like tub edges.
Sources
- Dry Time versus Cure Time of Paint (technical bulletin), Dunn-Edwards
- Insulating and Weatherizing Your Home, University of Missouri Extension
- Reduce the Risk of Lead Exposure at Home, U.S. Environmental Protection Agency
- Lead Renovation, Repair and Painting Program, U.S. Environmental Protection Agency
More on interior painting and every how-to post.