Painting a ceiling yourself: cut in, roll and keep a wet edge
· 6 min read · By GK Painting & Remodeling
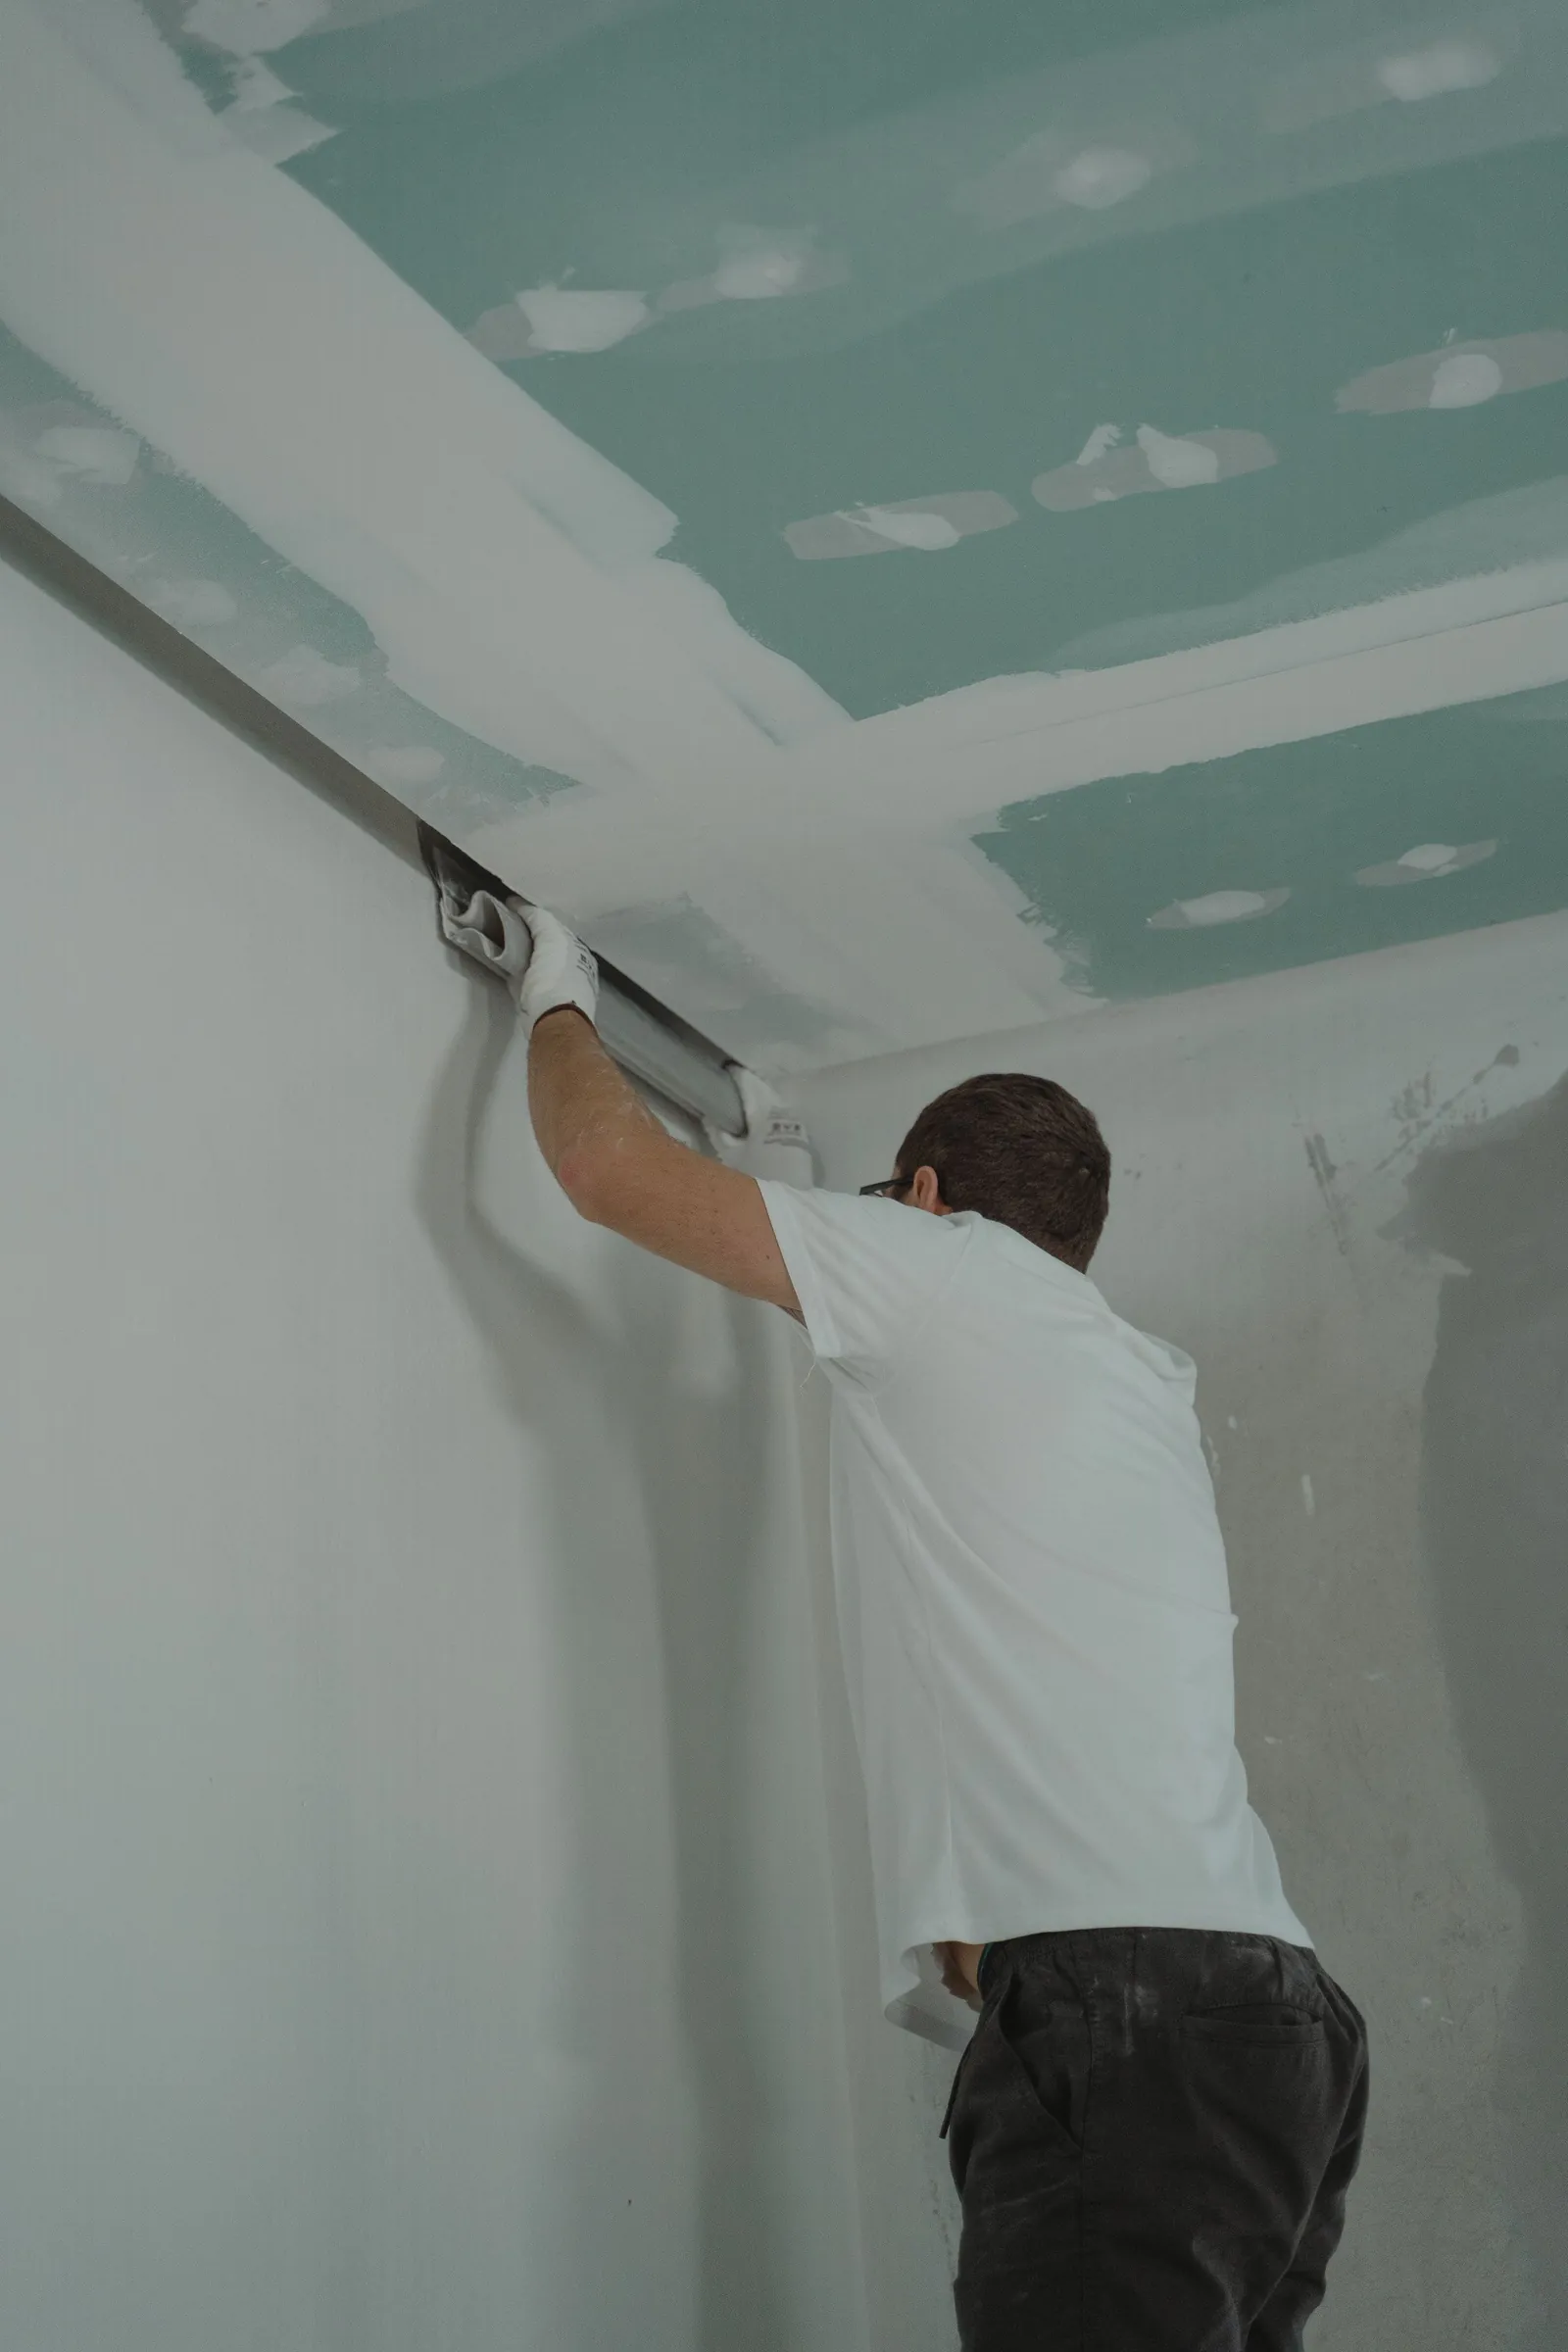
To paint a ceiling without streaks, cut in around the edges with a brush in small sections, roll the open area right away while the cut-in is still wet, and keep working across the ceiling in one direction so the wet edge never dries. Paint the ceiling before the walls, because that's where the drips and spatter fall.
Below are the tools, the steps, the drying waits and the situations where painting a ceiling yourself gets harder than it looks, including older textured ceilings that call for caution.
What you'll need
- Ceiling paint, plus a stain-blocking primer if there are water marks, smoke or other stains.
- A roller frame, roller covers suited to your ceiling's texture, and an extension pole.
- A 2.5 to 3 inch angled brush for cutting in.
- A tray with liners, and a stir stick.
- Drop cloths for the floor and plastic for furniture you can't move.
- A sturdy step ladder or scaffold planks you can walk along safely.
- Painter's tape for the tops of the walls, if you want a safety line.
- A hat, glasses and clothes you don't mind spattering.
- A damp cloth, a putty knife and patching compound for small flaws.
Check the ceiling before you start

Look at the ceiling with the lights off and a flashlight held at a low angle. Cracks, tape seams and drywall dings show up in raking light that you can't see head-on. Water stains need special care. Dunn-Edwards says to repair the leak before applying a stain-blocking primer, and the primer matters because the stain will otherwise bleed through ordinary paint.
If the ceiling is textured, think before you touch it. EPA's list of materials that may contain asbestos includes popcorn ceilings, patching and joint compounds and textured paints, and it notes that structures built before 1975 may contain significant amounts. EPA also says you generally can't tell whether a material contains asbestos by looking at it, and advises not to saw, sand or scrape suspect materials. Painting a ceiling that's in good condition is different from scraping it, but a heavy roller on flaking texture can break it up. If it crumbles, stop and have it tested. If your ceiling is textured, read our guide to painting a popcorn ceiling before anything touches it.
Choose the right paint and roller
Ceiling paint is usually flat, and there's a reason. Dunn-Edwards' technical bulletin on ceilings explains that light striking a surface at a shallow angle casts shadows that highlight every irregularity, and that good prep and a dead flat paint reduce the effect. It advises avoiding glossier sheens overhead, because critical lighting can magnify imperfections. If you use ordinary wall paint on a ceiling, choose a flat sheen for the same reason.
Match the roller to the surface. A thicker nap holds more paint and reaches into texture, while a shorter nap leaves a finer finish on a smooth ceiling. Our post on what nap roller to use explains the options. Buy a bit more paint than the area suggests, since an uneven ceiling soaks it up.
Set up the room
- Move out what you can, and cover the floor and everything that stays. Plastic over furniture, canvas drop cloths on the floor.
- Turn off power to ceiling lights at the breaker. Take off covers and trim rings, and cover fans and fixtures with plastic. Do not paint around live wiring.
- Remove vent covers and smoke detector covers you can take off, and keep them out of the paint.
- Fill nail pops, cracks and dings with compound, let it dry and sand it smooth, then wipe the dust off the ceiling with a damp cloth.
- Prime stains and patches and let the primer dry.
- Open a window for ventilation. EPA advises increasing ventilation when you use paint and similar products.
Painting the ceiling, step by step
- Stir the paint and pour some into a tray. Wipe dust off the edge of the ceiling where it meets the wall.
- Cut in a band of paint about two inches wide along one wall and around any fixtures. Work only a few feet at a time.
- Roll the open area next to that band right away, while the cut-in band is still wet. Rolling over a dried band leaves a frame that shows through the finish.
- Roll in strips about three feet wide across the whole ceiling, moving in one direction. Overlap each strip a few inches into the one before it.
- Keep the roller loaded and use light pressure. Pressing hard squeezes paint out the edges and leaves lines.
- Finish each strip with a light pass in the same direction. Don't stop in the middle of a strip.
- Step back to check the finish while it's wet, from the doorway, in the light you'll normally see it by.
- Let the first coat dry, then repeat for the second coat.
Why the wet edge matters
A ceiling is a large, flat, evenly lit surface, so it shows every inconsistency in the paint. Streaks and bands usually come from letting one area start drying while you work on the next. Plan the job so you can cut in and roll the whole ceiling in one go, which means starting early and not breaking in the middle for a phone call.
Dunn-Edwards says water-based coatings are usually dry to the touch in one to two hours and ready for another coat in two to four, but a cool, humid room slows that, so give it extra time. Our guide to avoiding roller marks and the post on cutting in cover the technique in more detail.
After the second coat
Let the ceiling dry fully before you take the plastic down, so you don't drag a drip across the room. Reinstall light fixtures and vent covers only when the paint around them is dry to the touch, and switch the power back on last. Clean your roller and brush right away, and keep a little paint for touch-ups.
A new ceiling often makes old walls look tired, and that's the cue to keep going. If you're painting the walls next, see our post on how to paint a room for the full order, from patching to trim.
Where DIY gets hard
- Fatigue. Rolling overhead tires your neck and arms fast, and tired painters press too hard and rush the edges.
- Spatter. A fast roller flings paint. Keep the roller moving at a steady pace and avoid overloading it.
- Cutting in overhead. A steady line along the ceiling and walls is harder when you're craning your neck on a ladder.
- Height. High ceilings, stairwells and vaulted spaces mean scaffolds or tall ladders. Our post on painting a stairwell covers why that's a job for experience.
- Textured and old ceilings. Popcorn and other textures hold paint in odd ways, and some may contain asbestos.
- Stains. A leak stain that bleeds through the finish needs primer, and sometimes the leak isn't actually fixed.
Our post on the best ceiling paint covers what to buy.
When hiring makes sense
Ceilings are a good place to hire help because they're tiring, awkward and unforgiving. Hiring makes sense for high or vaulted ceilings, stairwells, rooms with heavy texture, or whenever you'd like a flat, streak-free finish and don't want to spend days with your arms overhead.
Ceilings are part of our interior painting, along with walls, trim, doors and garages. We cover floors and furniture first, and most rooms take one to two days. The written quote is the price, no extra charge if the job takes longer than expected. Ask for a free estimate and mention your home's age when you call.
Common questions
Should I paint the ceiling or the walls first?
Paint the ceiling first. Drips and spatter from overhead land on the walls and floor, and it's easier to cover those than to repaint a finished ceiling.
How do I avoid streaks when painting a ceiling?
Keep a wet edge. Cut in and roll in small sections, work in one direction in strips about three feet wide, and finish a coat without long pauses. Rolling over partly dried paint is what leaves streaks.
How many coats does a ceiling need?
Two coats is standard. Water-based paint is usually ready for a second coat in two to four hours, and longer in cool, humid rooms. Stains need primer first.
Is it safe to paint a popcorn ceiling?
Not until you know what's in it, if it's crumbling or you plan to disturb it. EPA says popcorn ceilings are among materials that may contain asbestos and that you can't tell by looking, so don't scrape or sand it, and have it tested first. The ceiling's condition and age decide the rest.
What causes lap marks on a ceiling?
Lap marks come from rolling over paint that has already started to dry, usually at the edge of a section. Smaller sections, a loaded roller and a steady pace prevent them.
Sources
- How to Paint a Ceiling (technical bulletin), Dunn-Edwards
- Dry Time versus Cure Time of Paint (technical bulletin), Dunn-Edwards
- Post-Disaster Renovations and Asbestos for Homeowners and Workers, U.S. Environmental Protection Agency
- Protect Your Family from Exposures to Asbestos, U.S. Environmental Protection Agency
- Volatile Organic Compounds' Impact on Indoor Air Quality, U.S. Environmental Protection Agency
More on interior painting and every how-to post.