Painting a bathroom yourself: moisture, mildew and the right order
· 6 min read · By GK Painting & Remodeling
To paint a bathroom, fix the moisture and clean off any mildew first, then prime, and put on two coats of a washable paint labeled for bathrooms, with the fan running while it dries. Steam is what makes bathrooms hard, and a finish that goes on over a damp or moldy wall tends to peel within months.
Below are the steps in order, the sheen and drying questions that matter in a steamy room, and the places DIY gets harder than the size of the room suggests.
What you'll need
- Paint made for bathrooms or kitchens and baths, in a washable sheen.
- A stain-blocking or mildew-resistant primer.
- A 2 inch angled brush, a mini roller and a standard roller with tray.
- Painter's tape, drop cloths and plastic to cover the tub, toilet and vanity.
- Detergent, sponges, rags and rubber gloves.
- Paintable caulk for trim, and a caulk gun.
- Putty knife, spackle and fine sanding sponges.
- A fan and a stepladder.
Fix the moisture before you open the can
Paint won't solve a moisture problem. EPA recommends keeping indoor humidity below 60 percent, ideally between 30 and 50 percent, and says to run the bathroom fan or open a window when showering. If your fan is weak, noisy or vents into the attic, that's a repair that pays for itself in paint that lasts.
Then look for mildew, usually black or gray specks on the ceiling, around the tub and in corners. EPA says not to paint or caulk moldy surfaces, because paint applied over mold is likely to peel. Scrub mold off hard surfaces with detergent and water, dry completely, and if the mold keeps coming back, find the leak. EPA suggests more detailed remediation guidance if the moldy area is bigger than about 10 square feet. Never mix bleach with cleaners that contain ammonia.
Some older bathrooms have neither a fan nor a window, and those are the hardest to paint and to keep painted. EPA's advice on moisture is to reduce humidity, to dry wet surfaces, and to use air conditioners or dehumidifiers when needed. In practice, that means a portable fan pointed out of the doorway, a dehumidifier in the next room and a door left open to move air.
Think about adding a vented fan before you paint, or soon after. A fan that doesn't exist can't keep mildew away from a new finish, and it's a better use of money than a more expensive paint.
Prep the bathroom
- Remove what you can: towel bars, switch plates, vent cover and mirrors. Cover the tub, toilet, vanity and floor.
- Wash the walls and ceiling with detergent and water, rinse and dry thoroughly. Our guide to cleaning walls before painting covers the details.
- Scrape peeling paint, fill holes, and sand patches smooth. Wipe the dust.
- Re-caulk where trim meets the wall with paintable caulk. Pure silicone is fine around the tub and tile, but Missouri Extension notes that paint will not adhere to most cured silicone, so tape it off and don't try to paint it. See how to caulk baseboards.
- Spot prime every patch and stain, and prime the whole room if the old finish is glossy or the color is changing a lot.
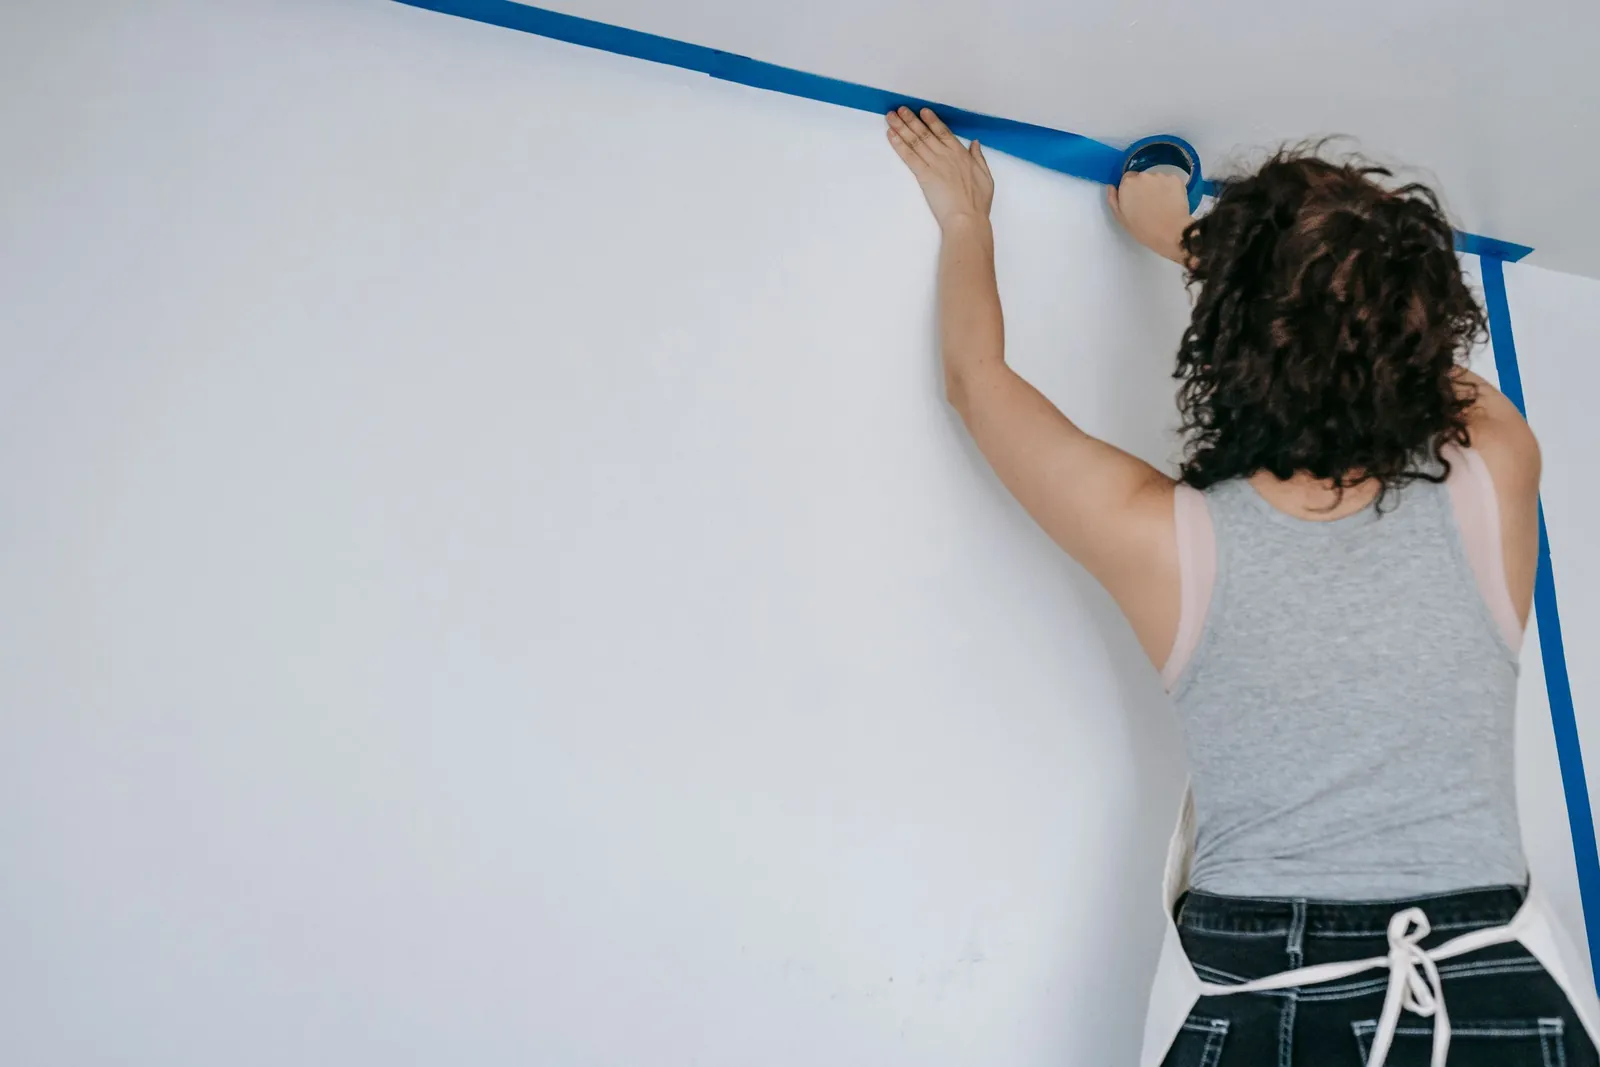
- Tape the tub, tile and trim edges.
Choose the paint and the sheen
Use paint sold for bathrooms or for kitchens and baths. These are made to wipe clean and resist mildew, which matters in a room that gets wet daily. A higher sheen, satin to semi-gloss, stands up to condensation and cleaning better than flat, and flat shows water spots and soap. The trade-off is that glossier paint shows wall flaws, so patching and sanding matter more. Wood walls add one more risk, since knots can bleed in a damp room; our post on painting shiplap explains. Our post on the right sheen for each room goes through the options.
For color ideas in a small bathroom or powder room, see our guide to powder room paint colors.
Painting, step by step
- Open a window and turn the fan on before you start. A small room holds fumes, and EPA advises increasing ventilation when you use paint.
- Paint the ceiling first with a ceiling paint rated for bathrooms. Our guide to painting a ceiling covers the method.
- Cut in around the ceiling, corners, trim and tile with a brush. Use a mini roller or brush behind the toilet and around the vanity.
- Roll the walls in sections, keeping a wet edge.
- Let the first coat dry, then roll the second.
- Paint the trim and door last.
- Pull the tape slowly once the paint is dry to the touch, then reinstall hardware only when the paint around it is dry.
For fixtures that stay, press painter's tape down firmly along their edges, and check the line before the paint dries. Cut in against tile with an angled brush and a steady hand, and take your time behind the toilet, where a drip is easy to miss.
Keep a damp rag in your pocket for drips on tile and chrome. Fresh latex wipes off easily, and cured paint doesn't. See how to use painter's tape for getting a crisp line.
Drying in a humid room
Humidity is the enemy of drying. Dunn-Edwards says high humidity increases water vapor in the air and on surfaces, and that when there's more moisture in the air it takes longer for the water in latex coatings to evaporate. It also says poor air circulation in a room can prolong drying time, and that increased ventilation helps the coating cure properly.
So paint on a dry day if you can, keep the fan running, and don't shower in the bathroom while the paint dries. Latex is usually dry to the touch in one to two hours and ready for another coat in two to four, but it needs 14 to 30 days to fully cure, according to the same bulletin. Short, cooler showers and a running fan during that window help a lot.
Where DIY gets hard
- Tight spaces. Painting behind a toilet or around a vanity takes small tools and patience, and it's easy to drip on fixtures.
- Cutting around tile and mirrors. Straight lines against tile edges and tub surrounds are harder than they look.
- Moisture that comes back. If the fan can't keep up, mildew returns and takes the paint with it.
- Peeling near showers. Steam reaches paint behind and above the shower, where a weak bond fails first.
- Waiting. The finish needs two weeks to harden, and bathrooms get used every day.
- Older homes. EPA says homes built before 1978 are more likely to have lead-based paint, so find out before you scrape or sand.
Humid air is a problem for any painter, not just in bathrooms, and our post on painting in high humidity covers the wider picture.
When hiring makes sense
A bathroom is a decent first project if the moisture is under control. Hiring makes sense when you have a lot of repairs, a persistent mildew problem, a tight space with lots of fixtures, or a high ceiling. Our guide to DIY painting versus hiring a pro can help you weigh it.
We paint bathrooms as part of our interior painting, protecting the room before any paint comes out and repairing small holes. Most rooms take one to two days. We also refinish bathroom vanities, which you can read about in painting a bathroom vanity. The written quote is the price, no extra charge if the job takes longer than expected. Ask for a free estimate.
Common questions
What sheen is best for bathroom paint?
Satin or semi-gloss. They wipe clean and handle condensation better than flat paint. The trade-off is that glossier paint shows flaws in the wall, so patch and sand carefully first.
Can I paint over mildew in a bathroom?
No. EPA says not to paint over moldy surfaces. Scrub the mold off with detergent and water, dry the surface completely and fix the moisture cause, or the paint will peel.
How long should I wait to shower after painting a bathroom?
Wait at least a day, keep the fan running and keep showers short for the first couple of weeks. Latex paint takes 14 to 30 days to fully cure, and humidity slows both drying and curing.
Do I need to prime a bathroom before painting?
Prime patches, stains, bare drywall and glossy surfaces. A mildew-resistant, stain-blocking primer is a smart choice on ceilings and around the shower.
Do I need a fan to paint a bathroom?
You need ventilation, whether a fan or an open window. It helps the paint dry, clears fumes, and keeps humidity down while the finish hardens.
Sources
- A Brief Guide to Mold, Moisture and Your Home, U.S. Environmental Protection Agency
- Dry Time versus Cure Time of Paint (technical bulletin), Dunn-Edwards
- Volatile Organic Compounds' Impact on Indoor Air Quality, U.S. Environmental Protection Agency
- Insulating and Weatherizing Your Home, University of Missouri Extension
- Reduce the Risk of Lead Exposure at Home, U.S. Environmental Protection Agency
More on interior painting and every how-to post.