How to paint kitchen cabinets yourself, and where it gets hard
· 7 min read · By GK Painting & Remodeling
To paint kitchen cabinets, take the doors off, degrease everything, sand, prime, and put on two thin coats of paint made for cabinets, sanding lightly between coats. A careful homeowner can do it, but it takes far longer than the painting itself suggests, because every coat has to dry before the next one.
This guide walks through the full process in the order we work, with the tools, the real drying waits and an honest look at where DIY gets hard. If you're still deciding whether to paint at all, our guide to painting or replacing your cabinets is the better place to start.
What you'll need
Gather everything before the first door comes off. Stopping mid-coat to hunt for a tool is how dust and drips get into a finish.
- A screwdriver or drill, and masking tape or a marker to number every door, drawer front and hinge.
- A kitchen degreaser, clean sponges and rags.
- Medium sandpaper (100 to 150 grit) for the first scuff, fine paper (220 grit) for between coats, and sanding sponges for edges.
- Wood filler for dents and for any hardware holes you won't reuse.
- A bonding or stain-blocking primer that suits your cabinet surface.
- Paint made for cabinets or trim, in the sheen you want.
- A good angled brush and a small foam or microfiber roller for flat panels.
- Painter's tape, drop cloths and plastic sheeting.
- A dust mask or respirator that suits the product, plus gloves and eye protection.
- Sawhorses, a table or a drying rack, and a clean, dust-free room where doors can lie flat for days.
Check what you have before you buy anything
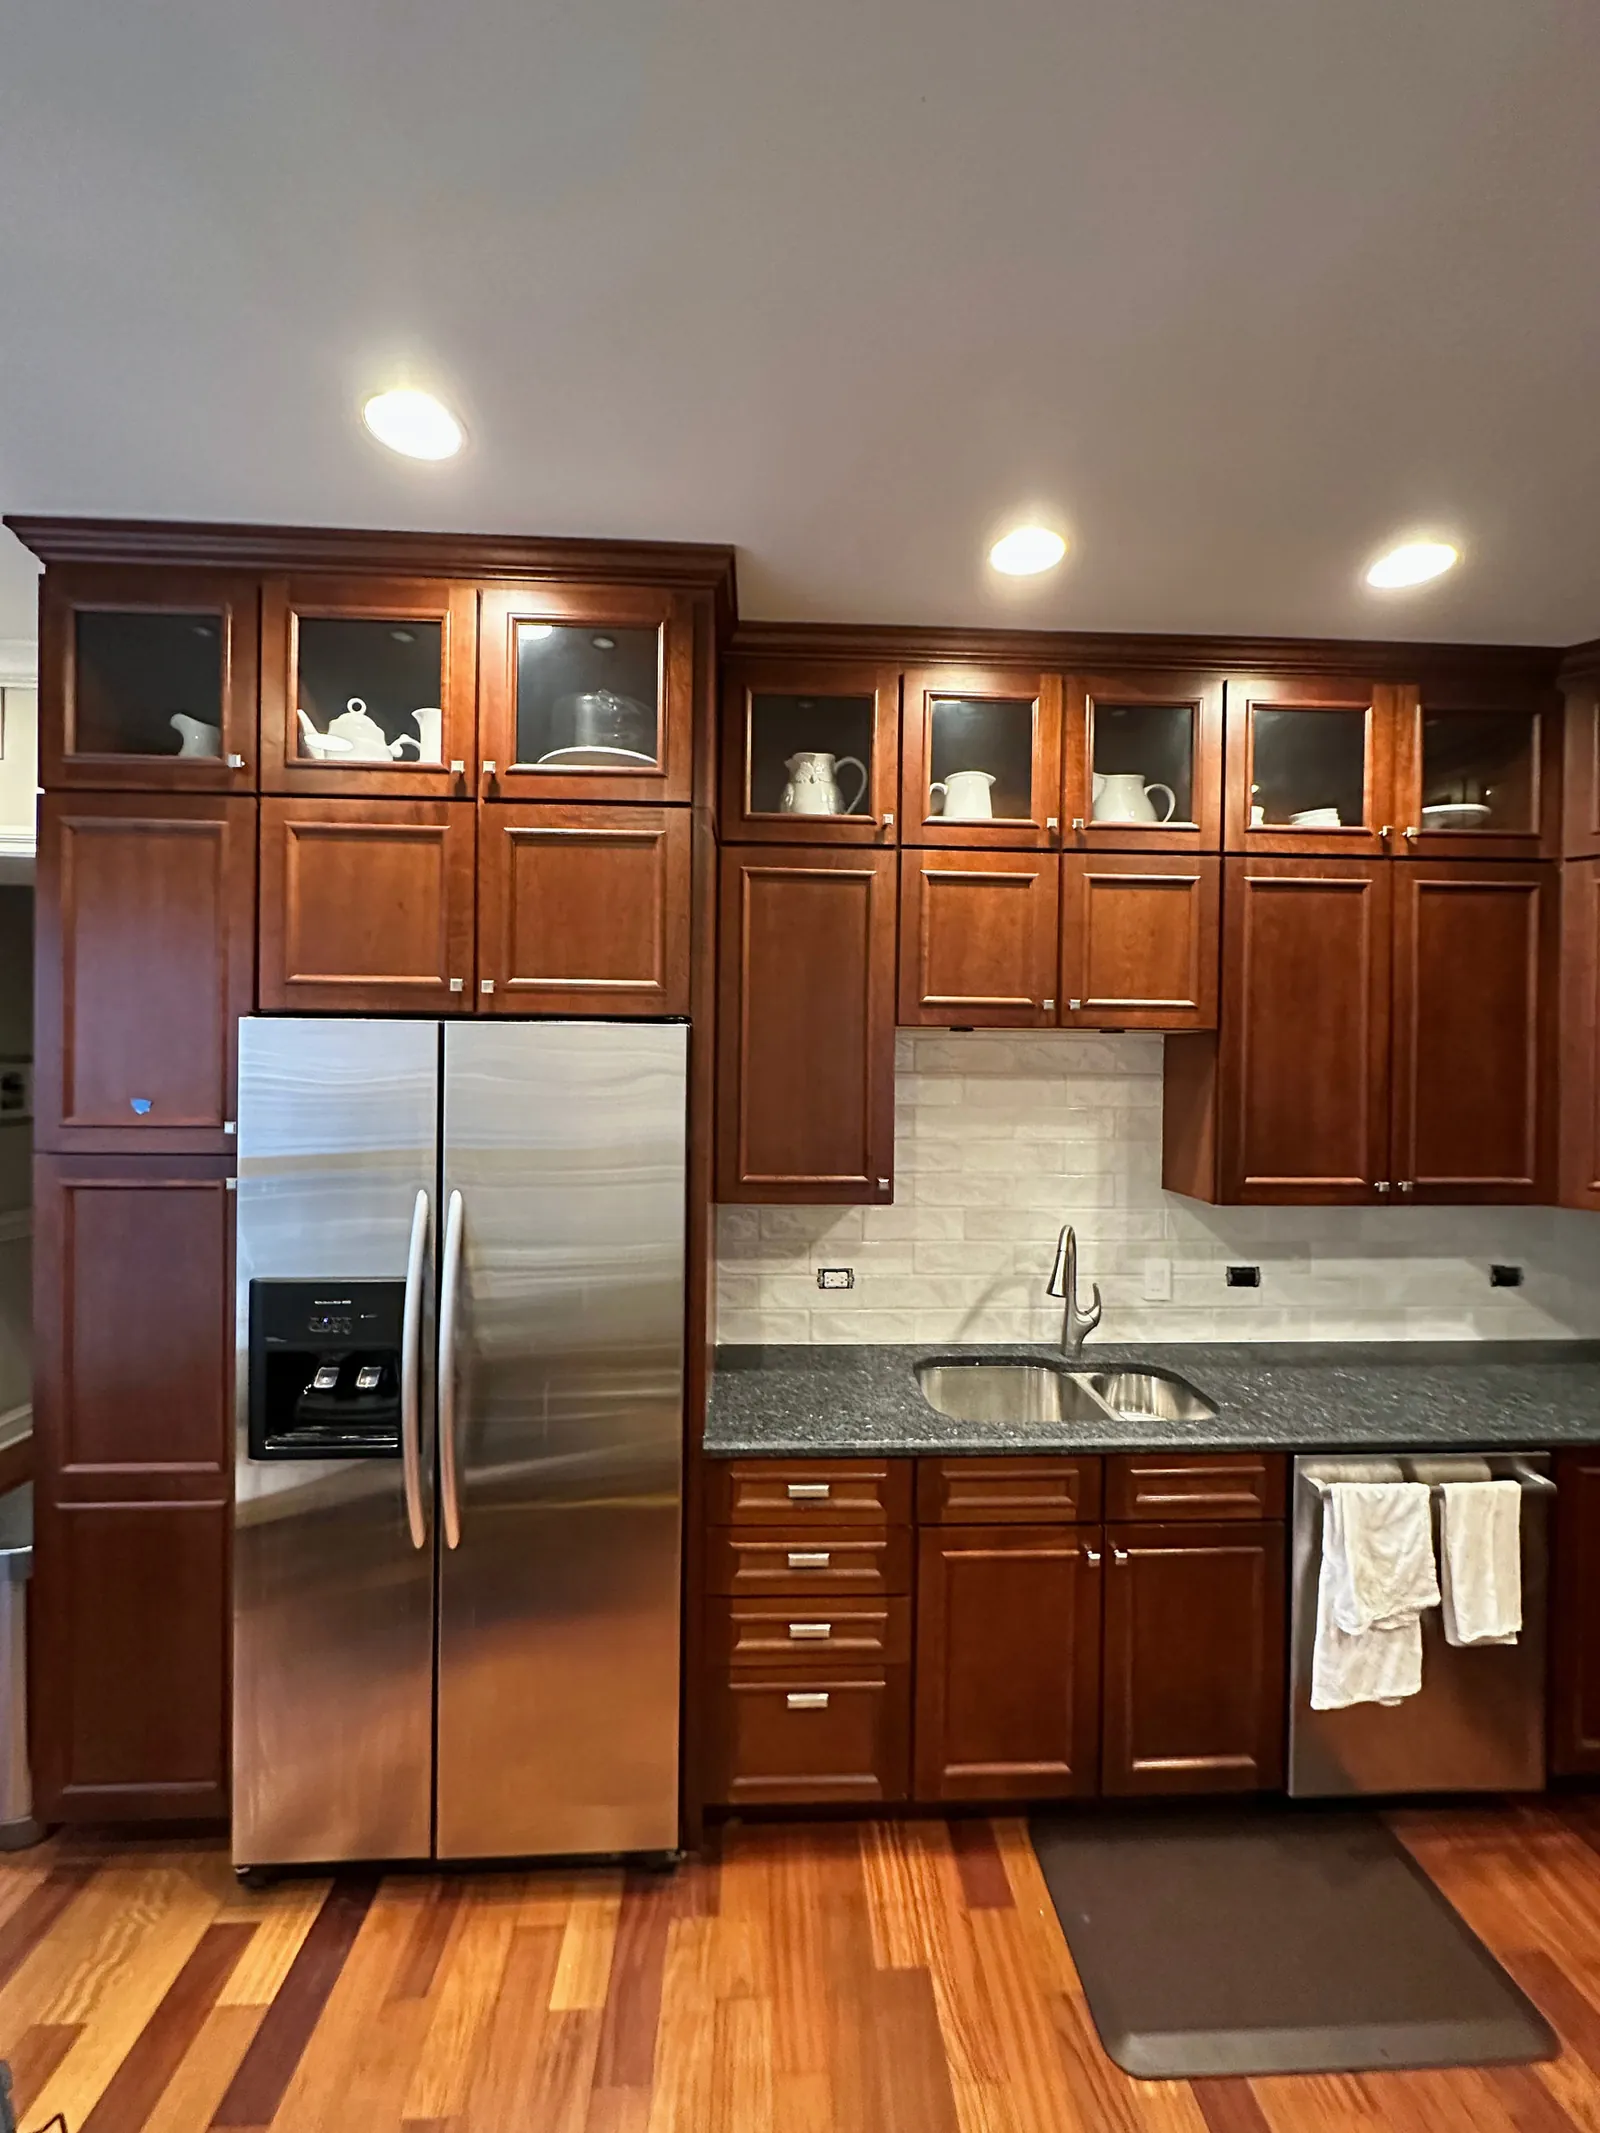
Painted or stained wood is the easiest case, and that includes wood veneer over a composite core if you sand it gently. Laminate and thermofoil are slick, and paint that doesn't grip them can peel in sheets, so read our guide to painting laminate cabinets first. Oak is solid but open-grained, and its grain shows through paint, which our guide to painting oak cabinets explains.
Also check the age of your house. EPA says homes built before 1978 are more likely to have lead-based paint, and sanding an old finish makes dust. EPA's Renovation, Repair and Painting rule sets lead-safe work practices for paid work in those homes. It generally doesn't apply to homeowners working on their own house, but the dust is the same, so find out before you sand. Hoping to skip the sanding? Our no-sand decision grid shows which finishes allow it and how to test the bond first.
The steps, in order
- Clear and protect the kitchen. Empty the cabinets, cover counters, floors and appliances, and open a window. Fresh paint gives off fumes, and EPA advises increasing ventilation when you use products like it.
- Number everything. Label each door, drawer front and hinge with matching numbers, photograph the layout, then remove doors, drawers and hardware. Bag each door's hinges and screws together.
- Degrease every surface. Wipe with a kitchen degreaser, then again with clean water, and let it dry. Grease is heaviest near the range, the sink and the pulls, and paint won't hold over it. The method is the same one we describe for cleaning kitchen walls.
- Scuff sand. Use 100 to 150 grit to dull the shine, not to remove the old finish. Benjamin Moore's cabinet guide describes it as enough to give the primer something to grip. Wipe the dust off with a damp cloth.
- Repair. Fill dents and unused holes, let the filler dry, sand it flush and wipe again.
- Prime the doors, drawer fronts and frames. Do the edges first, then the faces. Doors need priming front and back, one side at a time.
- Sand the primer lightly with 220 grit once it's dry, without cutting through it, and wipe off the dust.
- Apply the first coat of paint. Brush the edges and routed profiles first, then roll the flat panels, and finish each door with light strokes in one direction. Thin coats beat thick ones.
- Let it dry, sand lightly with 220 grit, and wipe clean.
- Apply the second coat the same way. A dark stain going to white may need a third.
- Let the doors dry flat and undisturbed before they go back on.
- Rehang the doors, adjust the hinges until the gaps are even, then add the hardware.
The frames get the same sequence in place: degrease, scuff, prime, two coats, working from the top of each run down. It's the same order we follow on every kitchen cabinet painting job.
Choosing paint and primer
Use paint sold for cabinets or trim, not wall paint. Cabinets get touched, wiped and bumped all day, and a harder, slightly glossy finish holds up to that better than a flat one. Satin and semi-gloss are the usual picks, and our post on the best paint finish for kitchen cabinets compares them.
Water-based paint is the easier route for most homeowners. Dunn-Edwards says latex coatings are usually dry to the touch in one to two hours, while oil-based coatings can take four to eight. Whichever you choose, ventilate while it dries, match the primer to the paint and the surface, and read the can for recoat times. Our comparison of cabinet paint types and cure times goes deeper on the choice. For the first coat, see the best primer for kitchen cabinets.
You don't need to paint the insides unless you want to. Our post on painting inside cabinets covers when it's worth the extra work.
A realistic schedule
Here's how the waits stack up for a typical kitchen if you work in full days. It's our estimate, not a rule, and a bigger kitchen or a cool, damp week will stretch it.
- Day 1: clear the kitchen, label and remove doors, degrease everything.
- Day 2: scuff sand, fill and sand repairs, prime one side of the doors and the frames.
- Day 3: flip the doors and prime the other side, then sand the primer.
- Days 4 and 5: first coat on each side of the doors and on the frames, with sanding in between.
- Days 6 and 7: second coat the same way.
- Days 8 to 10: let everything harden, then rehang, adjust and add hardware.
That's more than a week before you can use the kitchen normally, and it assumes nothing goes wrong. Most people spread it over a few weeks of evenings and days off instead.
How long each wait really is
Paint is dry long before it's hard. These are the waits that matter, from the paint makers' own guidance:
| Stage | Typical wait | Why it matters |
|---|---|---|
| Primer, before sanding | At least 1 hour | Soft primer clogs sandpaper |
| Between water-based coats | 2 to 4 hours | A second coat on wet paint drags |
| Before rehanging doors | 24 hours, 2 to 3 days is better | Doors stick to frames while soft |
| Full cure, water-based paint | 14 to 30 days | The film keeps hardening |
Cool, damp air and dark colors slow all of it, according to Dunn-Edwards. Our guide on how long cabinet painting takes covers dry versus cured in more detail.
Where DIY gets hard
A smooth finish
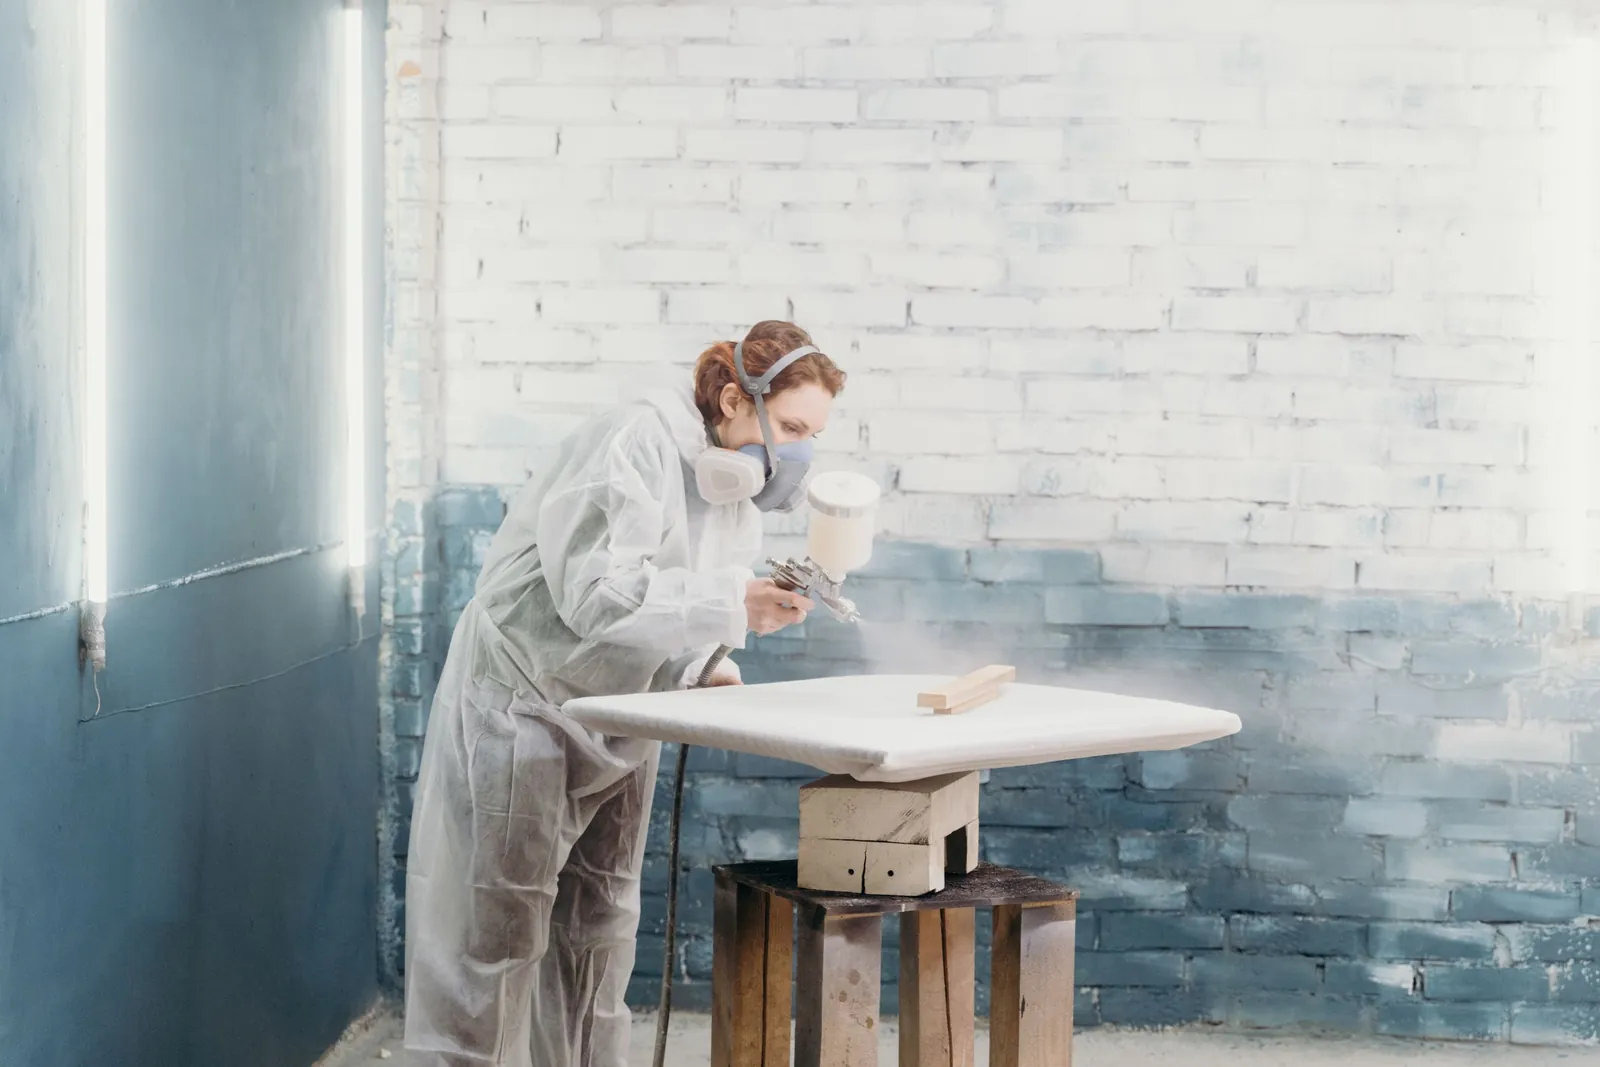
Brush and roller marks show most on flat door panels, especially in side light from a window. Thin coats and sanding between them help a lot, but a sprayer is what gives that factory-smooth look, which is why we spray doors. Our guide to spray painted kitchen cabinets shows the difference up close.
Doors that stick
Paint that is still soft sticks to other paint. A door that closes against its frame before the finish has hardened can stick to it and pull paint off when it opens. Clear bumpers help, and so does patience for the first couple of weeks.
Space and time
Twenty-odd doors and a stack of drawers need somewhere flat, clean and out of the way for days. Meanwhile your kitchen is missing its doors, and the frames are wet in the middle of the room.
Color changes
Going from a dark stain to white asks the most of your primer and your coats. Cherry or oak under a light color can need extra priming to keep the stain from showing through.
Getting it all back on straight
Hinge adjustment is fussy. Doors that hang a hair crooked are an easy tell on a DIY job, and it's easy to chip fresh paint while fixing them.
When hiring makes sense
Painting your own cabinets trades cash for time and patience. Hiring starts to make sense when:
- You have a big kitchen, a pantry wall or an island. Every door and drawer front is handled several times.
- You want a sprayed finish with no brush or roller texture.
- The cabinets are laminate, thermofoil or dark stain going light, where a shortcut shows up later.
- You can't give up your kitchen for a few weeks, or have no room to lay out the doors.
- You'd rather not learn hinge adjustment on your own cabinets.
Here's how we do it. Every job gets cleaning, degreasing, sanding and priming. Doors and drawer fronts are sprayed, the frames are finished in your kitchen, and everything is reinstalled with the hinges adjusted. Most kitchens take one to two weeks. We price per cabinet, paint included. The written quote is the price, no extra charge if the job takes longer than expected.
Our guide to what cabinet painting costs explains how that quote is built. For a look at finished work, see this cherry kitchen sprayed white, or ask for a free estimate and George will talk through your kitchen.
If you do hire it out, our guide to what professional cabinet painting includes shows what each step should look like on a quote.
Caring for the new finish
Dry isn't cured. Dunn-Edwards says latex coatings cure over 14 to 30 days, so for the first few weeks open doors by the pulls, keep dishes from stacking against fresh paint and wipe spills with a soft damp cloth. After that, our guide to cleaning painted kitchen cabinets covers the routine.
Common questions
Do I have to sand kitchen cabinets before painting?
Yes. Most cabinet finishes are too smooth for primer to grip, so Benjamin Moore's cabinet guide tells DIYers to scuff sand first. We sand every cabinet we refinish. Products sold as no-sand still need a thorough cleaning, and sanding is the step we wouldn't skip.
Should I brush, roll or spray cabinets?
Brushes handle edges and profiles, and a small roller works on flat panels. Spraying gives the smoothest finish but needs masking, ventilation and practice, so most DIY jobs are brushed and rolled. We spray doors and drawer fronts.
How many coats do cabinets need?
Primer plus two thin coats of paint is the usual minimum. A dark stain going to white can take a third coat. Sand lightly between coats so each layer grips the last.
Can I paint cabinets without taking the doors off?
You can, but the results are worse. Hinges and edges get painted shut, drips collect in the profiles and the backs never get finished. Removing the doors lets you lay them flat, which is what keeps coats even.
How long should I wait before using painted cabinets?
Wait at least 24 hours before rehanging doors, and two or three days is better. After that you can use the kitchen, but the paint keeps hardening for weeks, so go gently.
What paint is best for kitchen cabinets?
Use a durable paint made for cabinets or trim, in a satin or semi-gloss sheen, with a primer that suits your surface.
Sources
- How to Paint Kitchen Cabinets, Benjamin Moore
- Dry Time versus Cure Time of Paint (technical bulletin), Dunn-Edwards
- Volatile Organic Compounds' Impact on Indoor Air Quality, U.S. Environmental Protection Agency
- Lead Renovation, Repair and Painting Program, U.S. Environmental Protection Agency
More on cabinet refinishing and every how-to post.